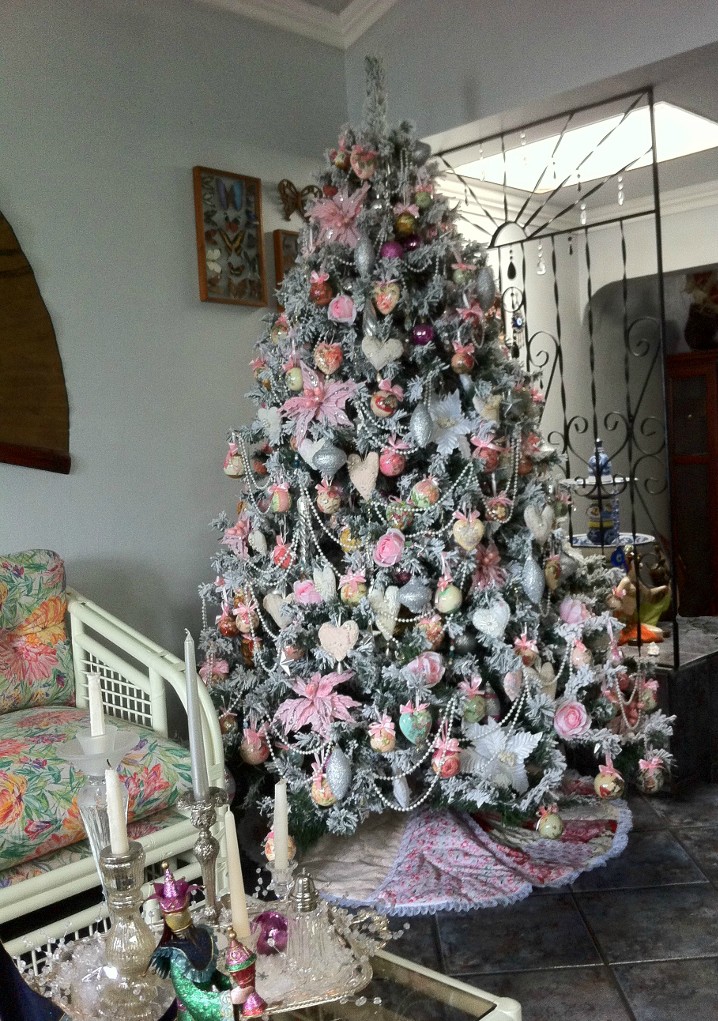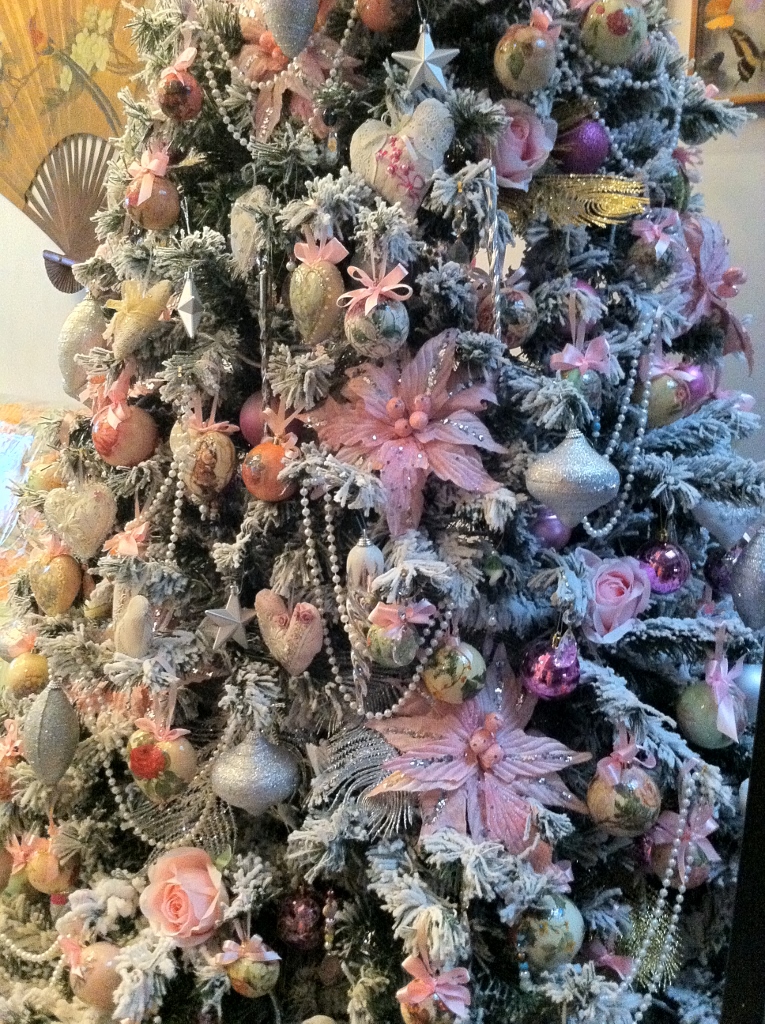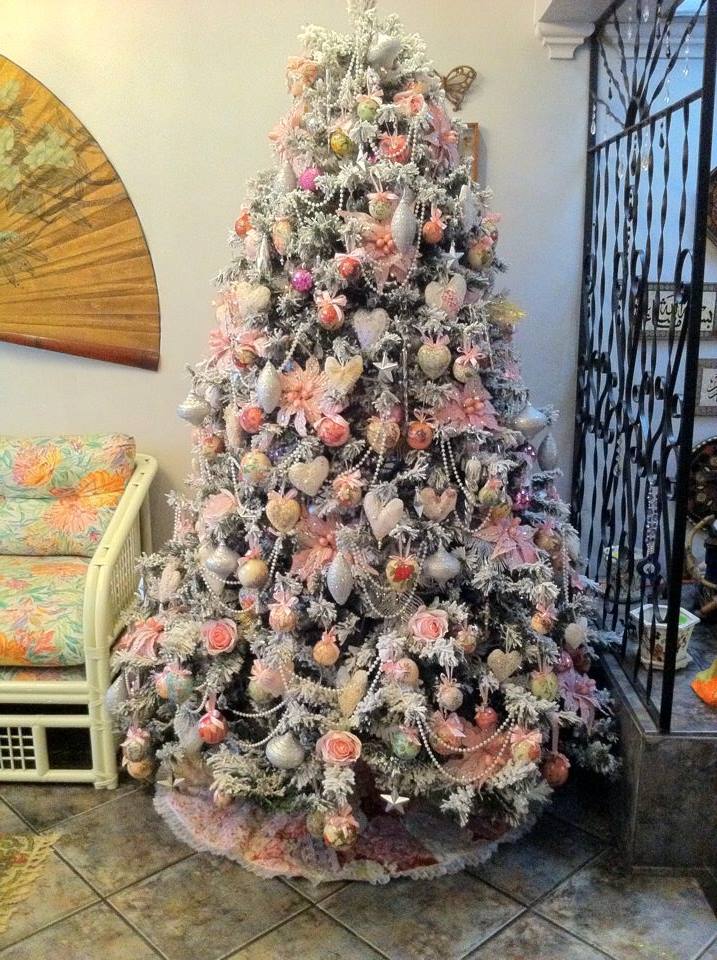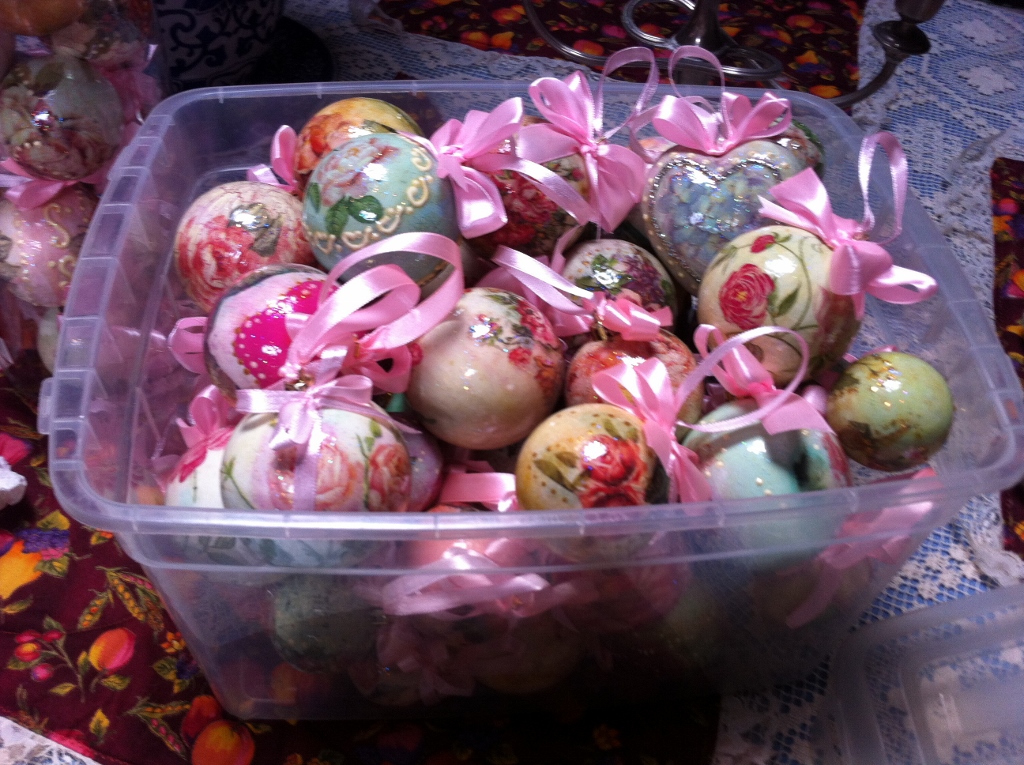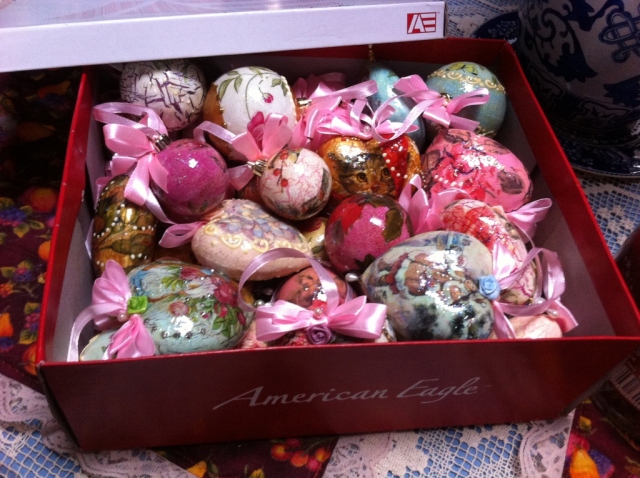
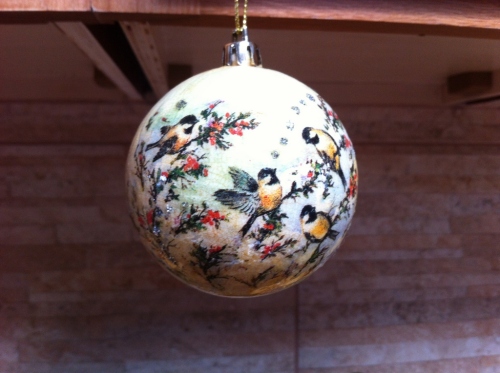
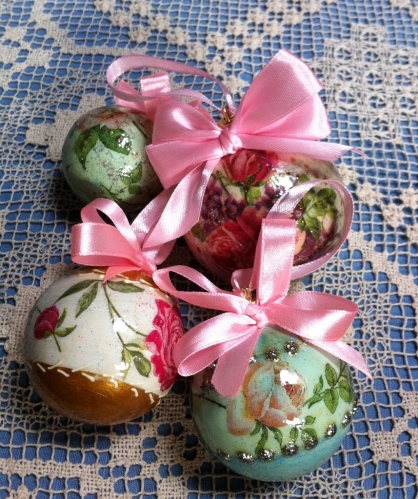
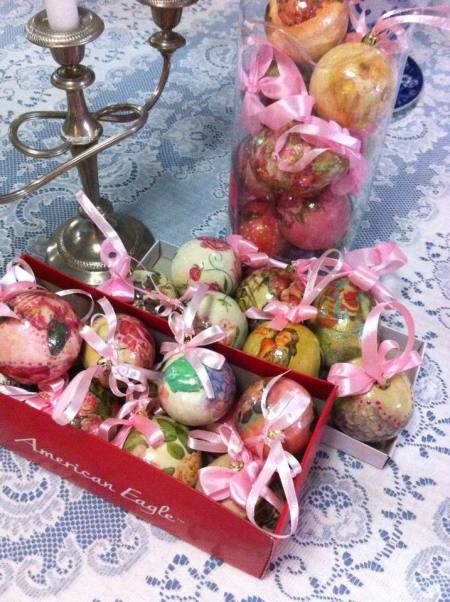
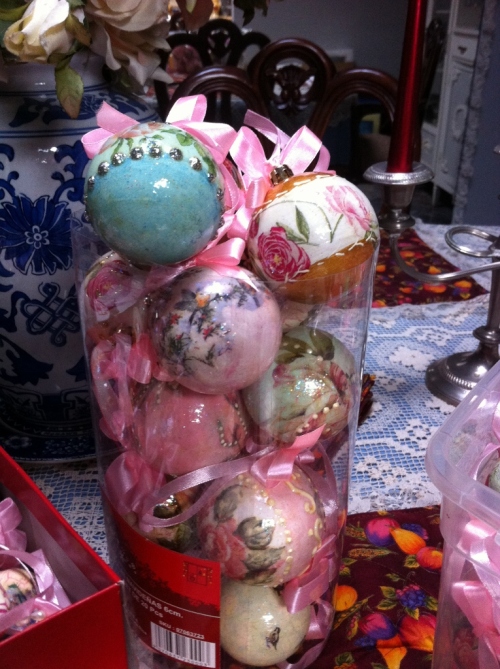
A few months ago I was watching some Youtube video tutorials that explained how to decoupage your own Christmas ornaments. I came across several that were actually quite stunning and very unusual because you don’t ordinarily see baubles like that in stores. Naturally I had to try my hand at making my own. It turned out to be so easy and fun that I made close to 70 or 75 of them. I started early in about September or so and it’s a good thing I did because that allowed me to convert all of last year’s red and gold balls into soft pastel toned ornaments topped by pink satin ribbons for hanging.
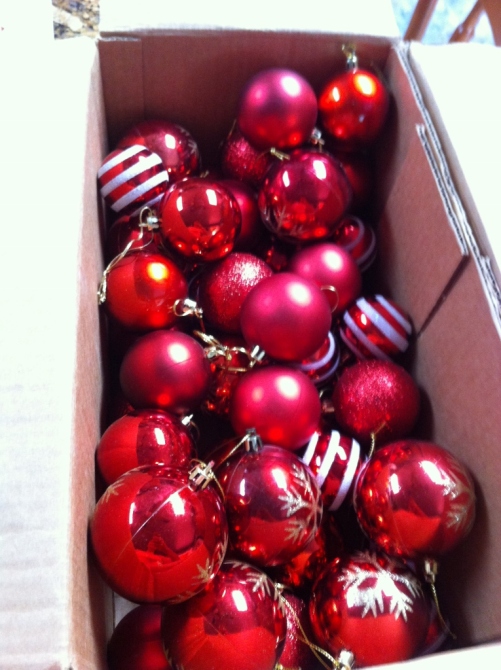
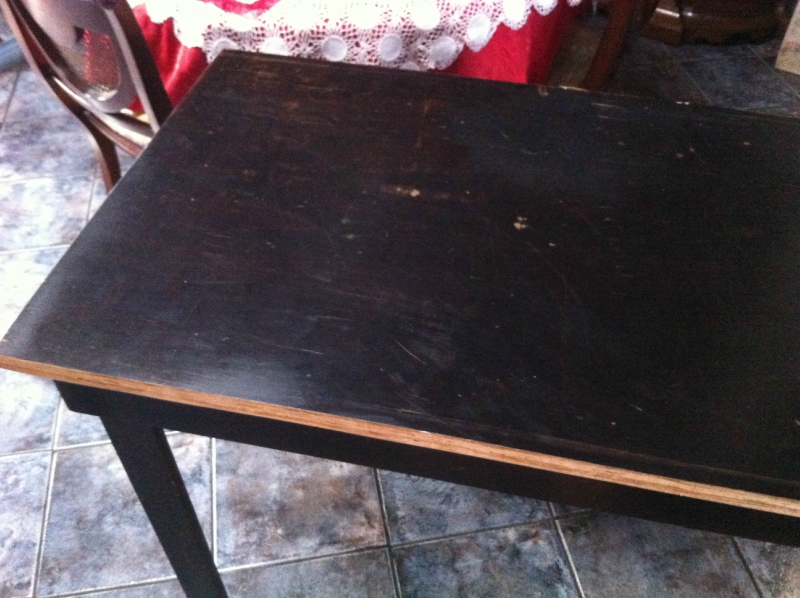
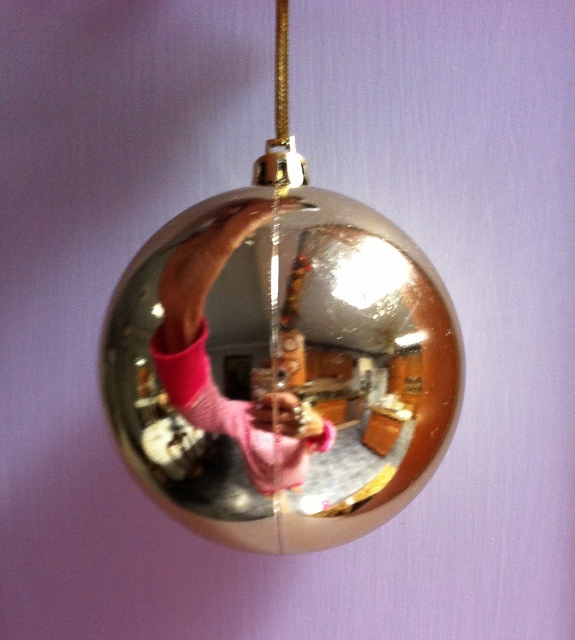
Last year’s shiny red and striped balls
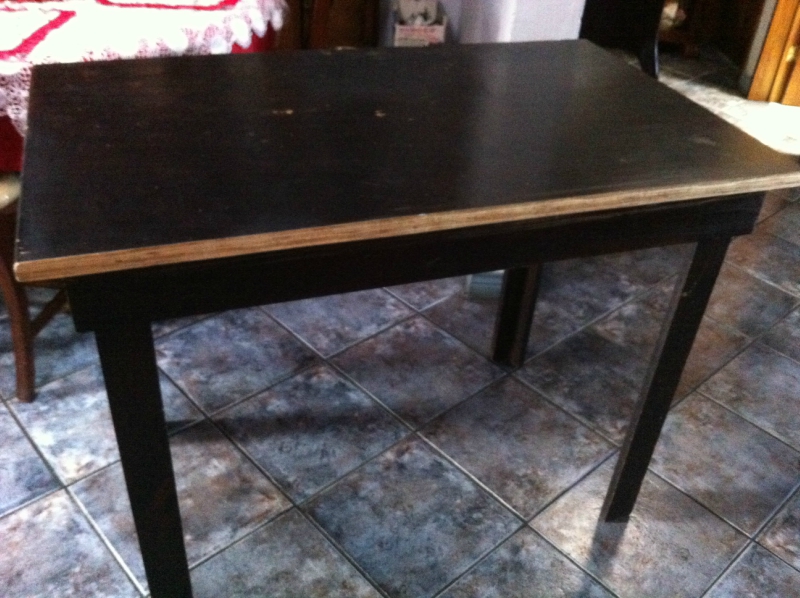
My first idea was to go out and buy new boxes of pink and white balls. So I hit the stores (which fortunately in my area begin to display and sell their Christmas stuff at the end of September) but I was dissapointed to discover that nobody even had any white or pink Christmas ball ornaments for sale. Those don’t seem to be popular Christmas colors at all. Even on Ebay the selection is limited. While trying to figure out what to do it ocurred to me that I could probably spray paint the balls with pink and white spray paint. And then I thought, well heck, why even buy new ones when I have boxes full of last year’s ornaments that I can recycle? So that’s exactly what I did. Here’s what I started out with.
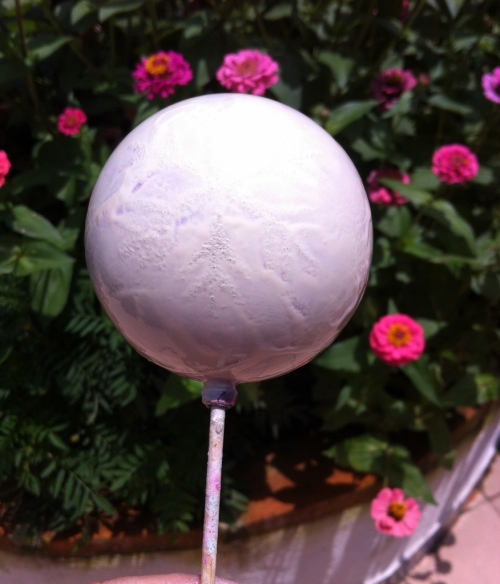
I had a few cans of half empty spray paint in the tool locker so each red and gold ball got a base coat of random shades of white, cream, ivory or pink. After temporarily removing the gold or silver hanging part off each ball, I put them on a wooden skewer and sprayed them. Some of them required a couple of coats to completely cover up the original color. Then I put them out in the sun to dry.
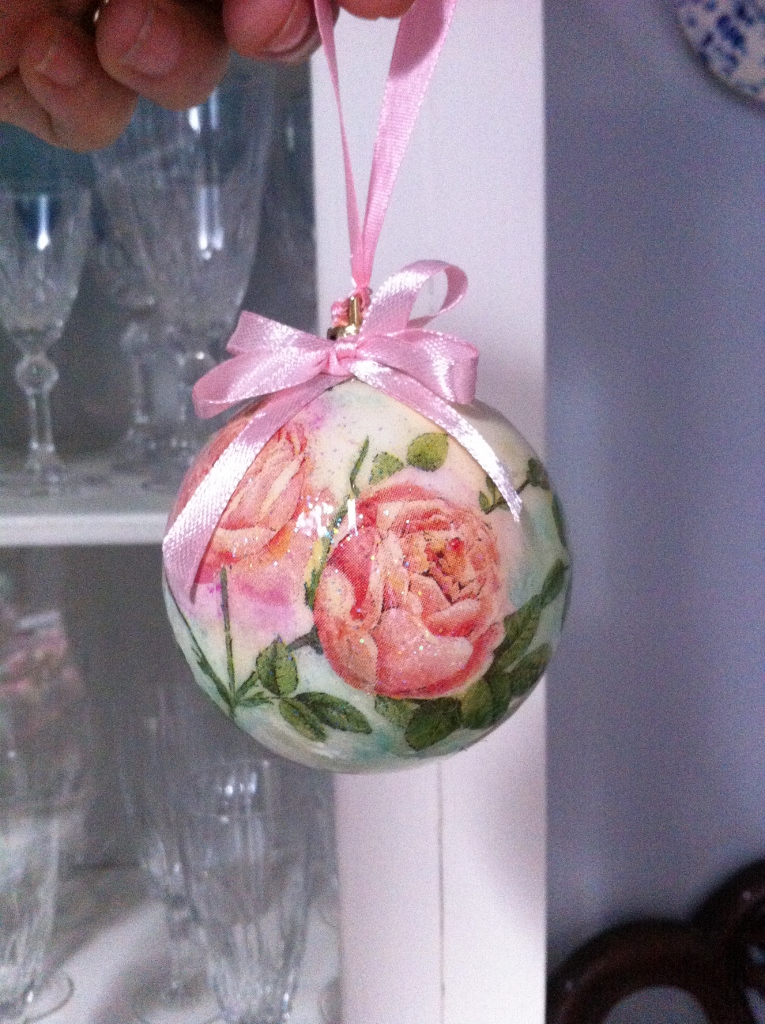
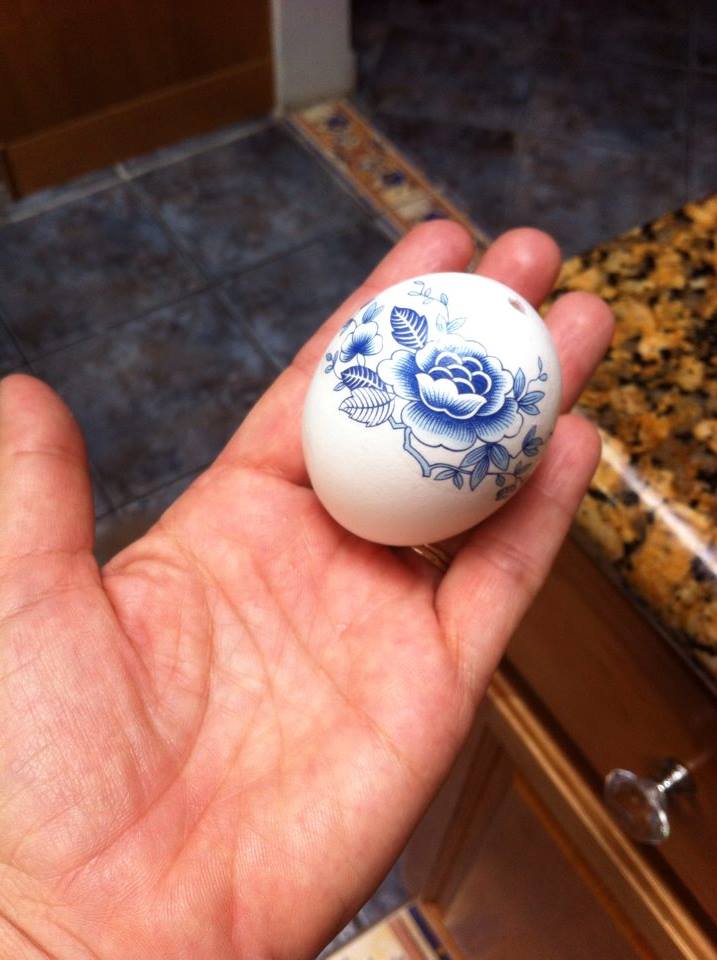
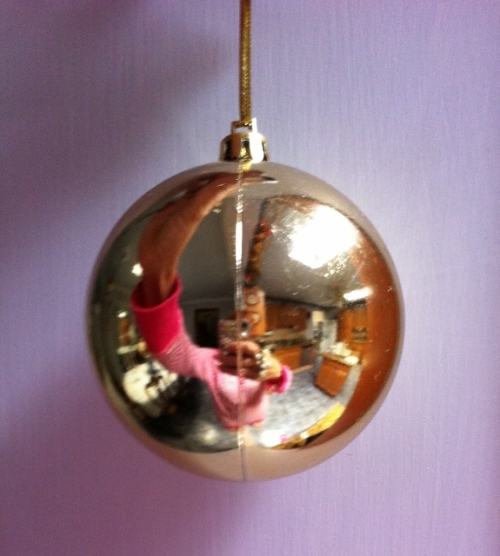
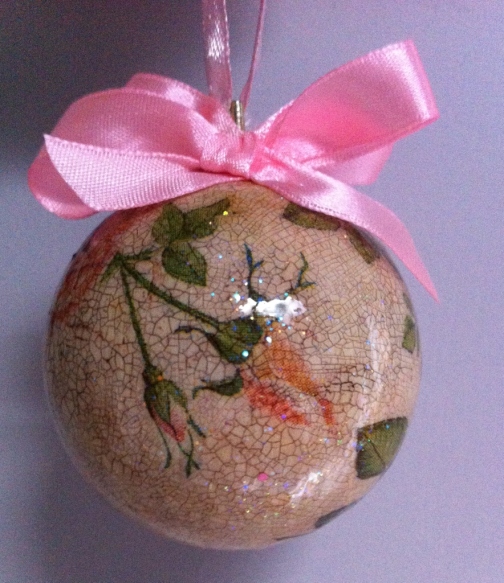
This particular ball has a glitter design on it which you can see a bit of in this photo. It doesn’t matter because after all the coats of mod podge and varnish it will be completely hidden.
The next step after the spray paint has dried is to give them a coat of regular acrylic craft paint in whatever color you want the bauble to be. I used mostly white, pink and aqua. The craft paint gives the balls a smooth matte finish to work on and it is especially necessary if you plan on using a crackle medium to give them an antique crackle finish. I used three different types of crackle finish with different results. By far, my favorite was Jo Sonja’s Decor Crackle because it provided the most dramatic crackle. I also used Jo Sonja’s Crackle Medium which is a bit different than their Decor Crackle but I didn’t like that one at all because it made them look leathery. Mod Podge’s Crackle Finish was pretty good too, it results in a very fine eggshell type crackle. All of these are all applied in different manners, some go on before the basecoat and some go on top of the basecoat, so if you’re going to use crackle, you have to read the instructions carefully before applying it. Next you have to choose what kind of appliqué you want. I used napkins.
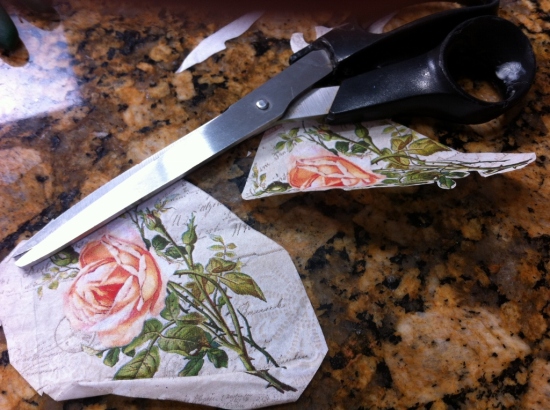
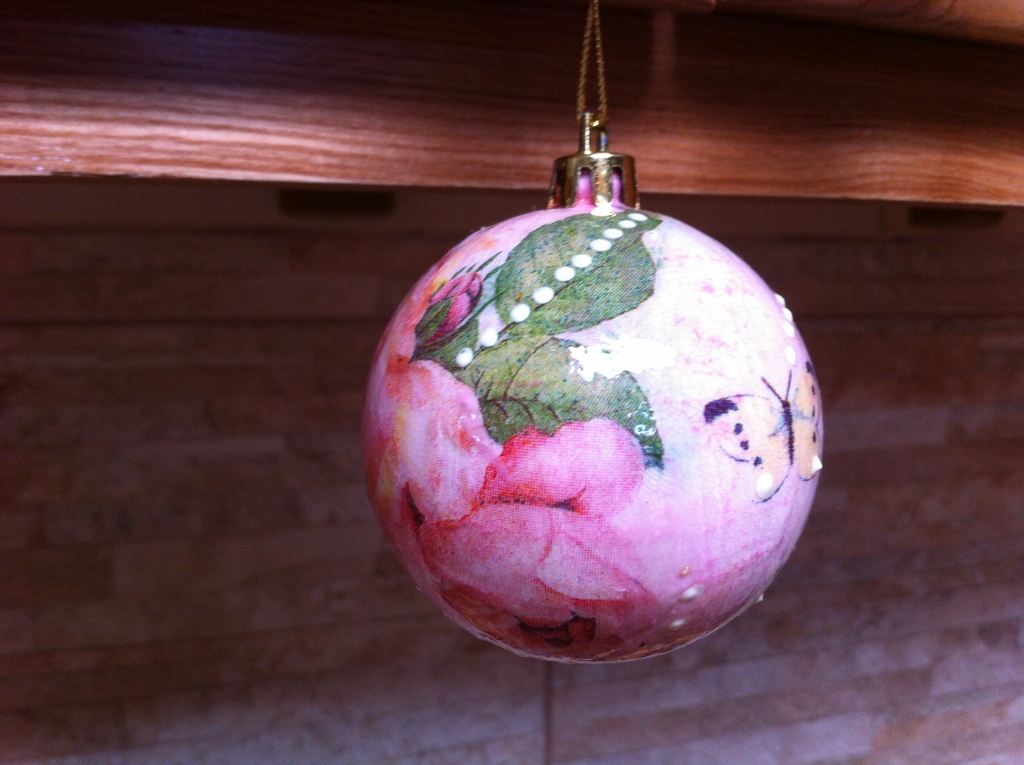
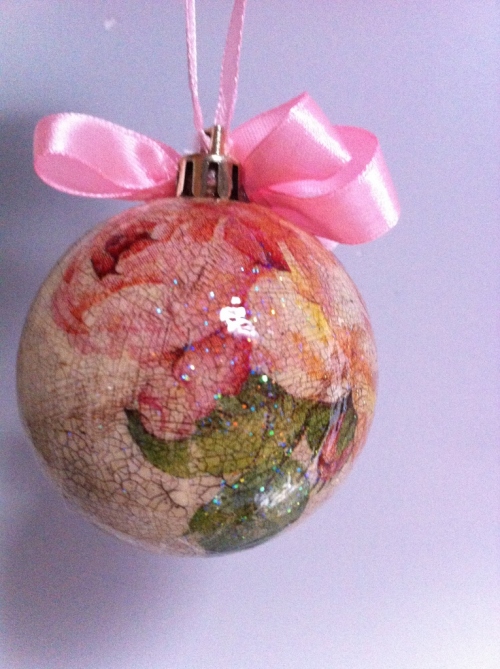
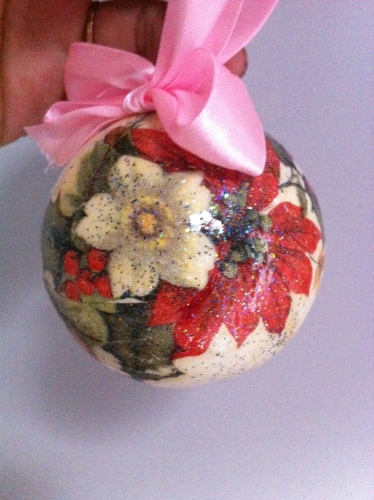
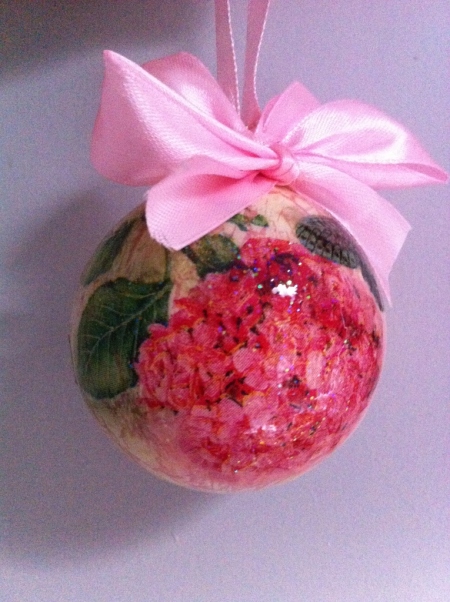
I found that Mod Podge was the easiest way of sticking the napkins on to the spheres, but you could probably just use Elmer’s glue or any white glue with pretty much the same result. After the applique dried completely I went over it with another coat of Mod Podge just to smooth everything down and make sure that nothing was unglued. At this point you can sprinkle on a little bit of ultra-fine glitter while they are still tacky, to give them a bit of shimmer. Or you can let them dry and then apply a coat of a product called Sparkle (also from Mod Podge) which gives a really beautiful subtle shimmer once it’s dry which is spread evenly over the entire surface.
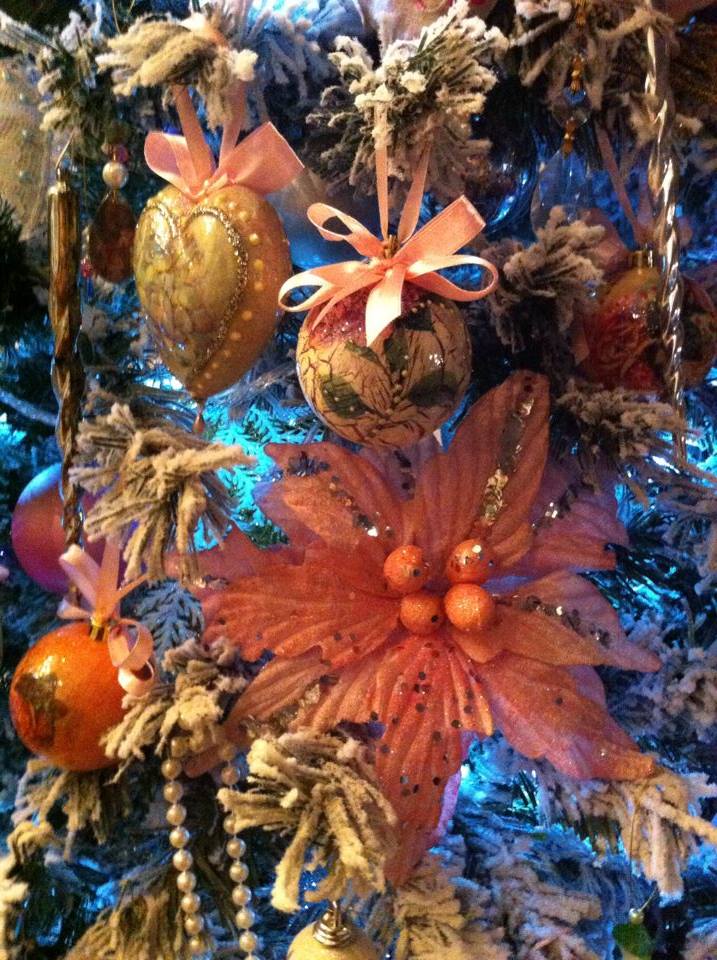
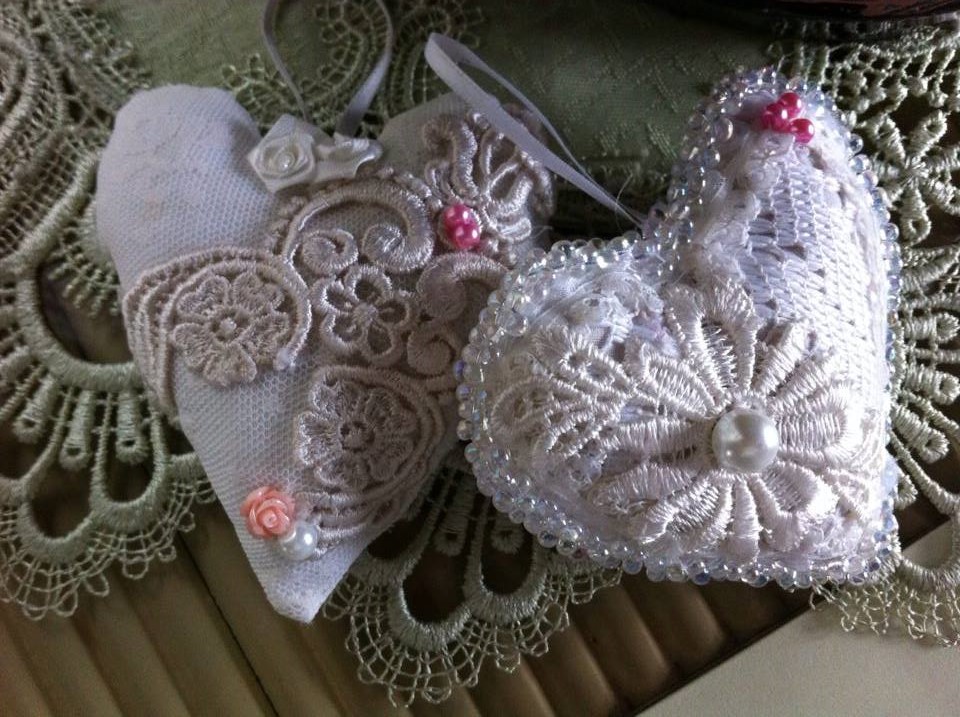
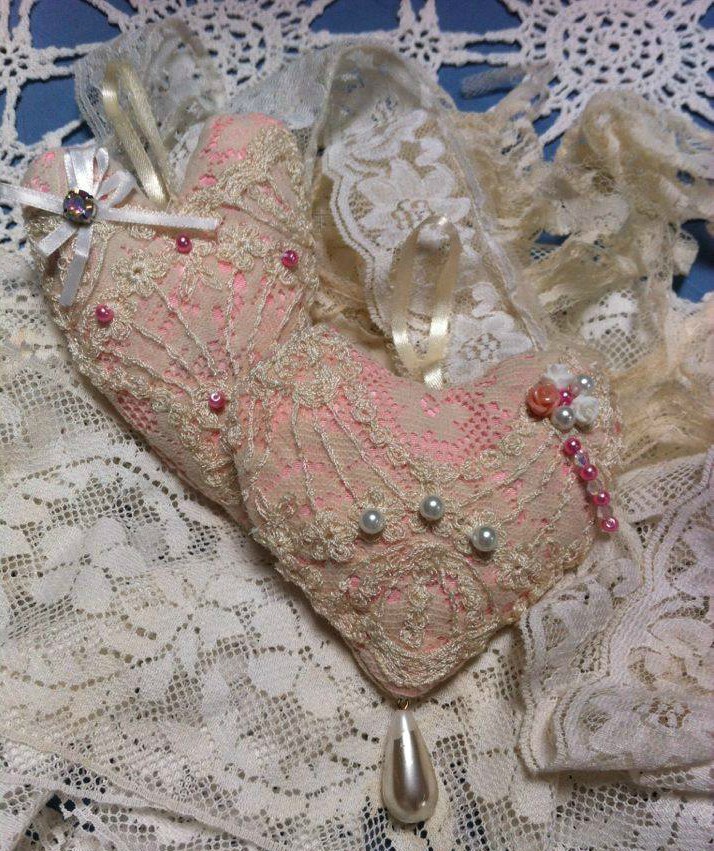
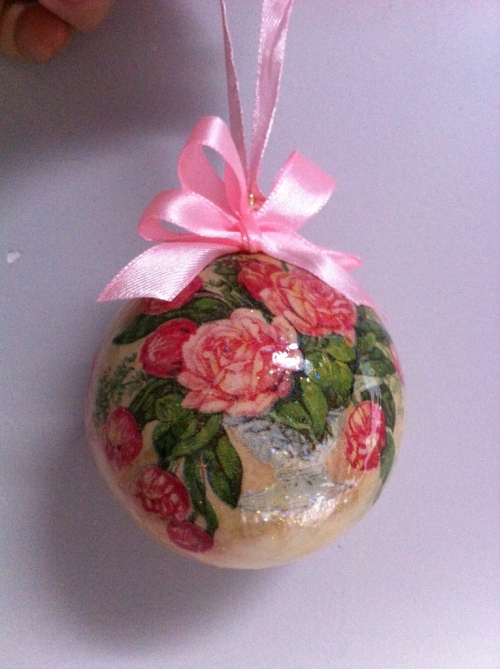
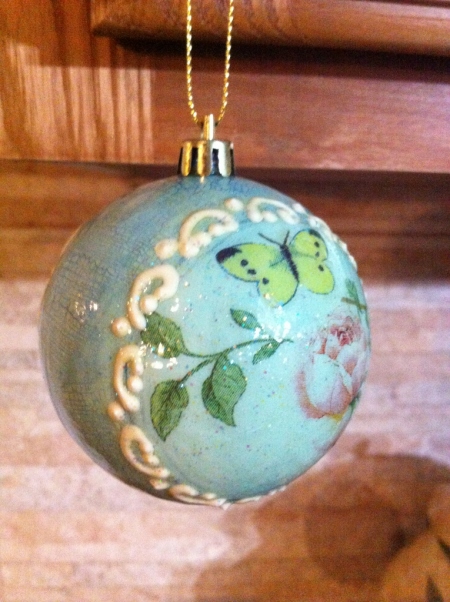
After that is dry, you can add accents with glitter glue or fabric paint. I added white pearly dots here and there and also thin streaks of gold and silver glitter randomly.

The final step is to apply two coats of regular transparent varnish. This gives them alot of shine and also protects the appliqué. I tried using water based varnish on the first couple of them but I didn’t like how that turned out because it gave them a sort of dull finish and I wanted them to be really shiny. So in the end I just used regular oil based varnish.

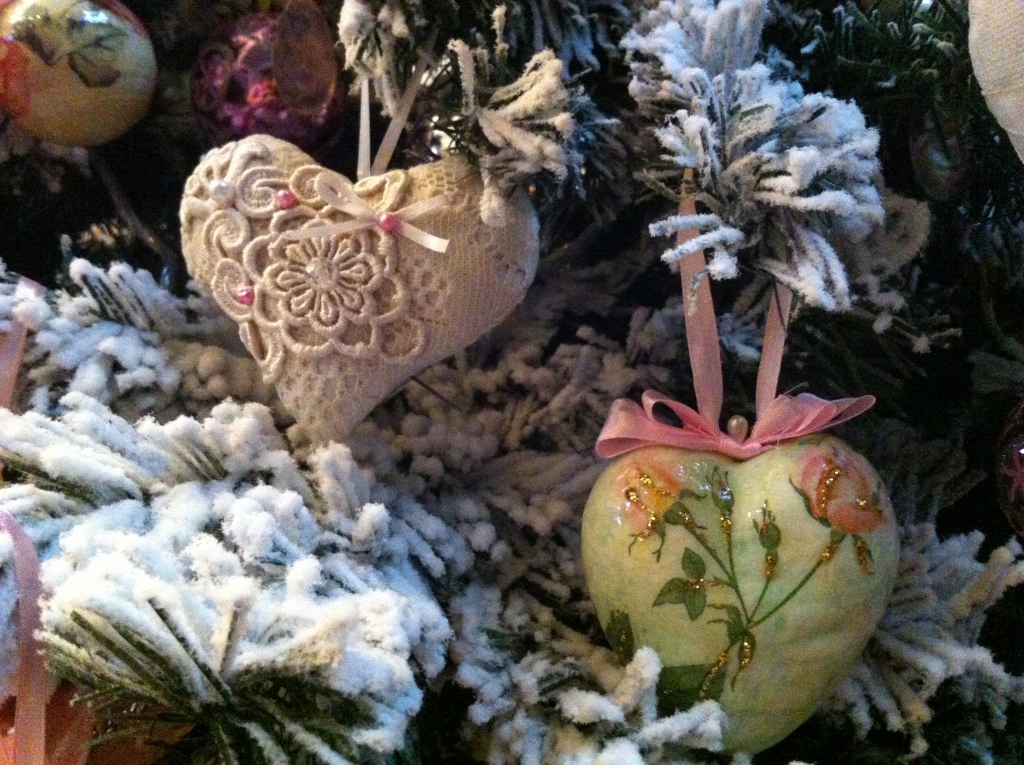
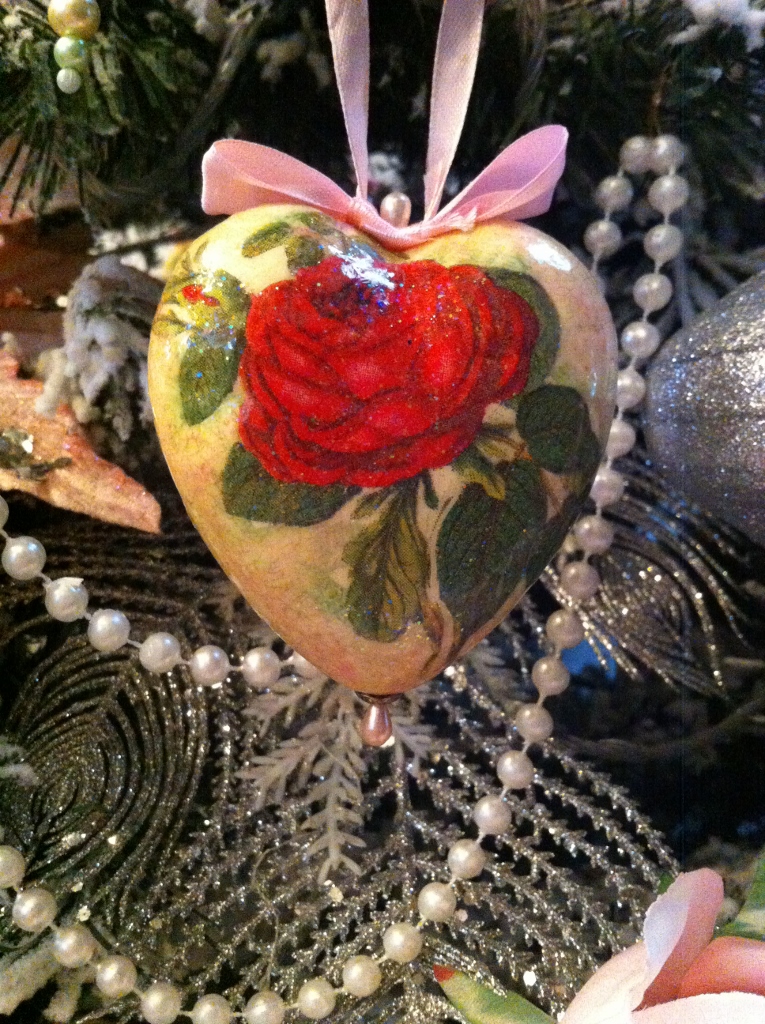
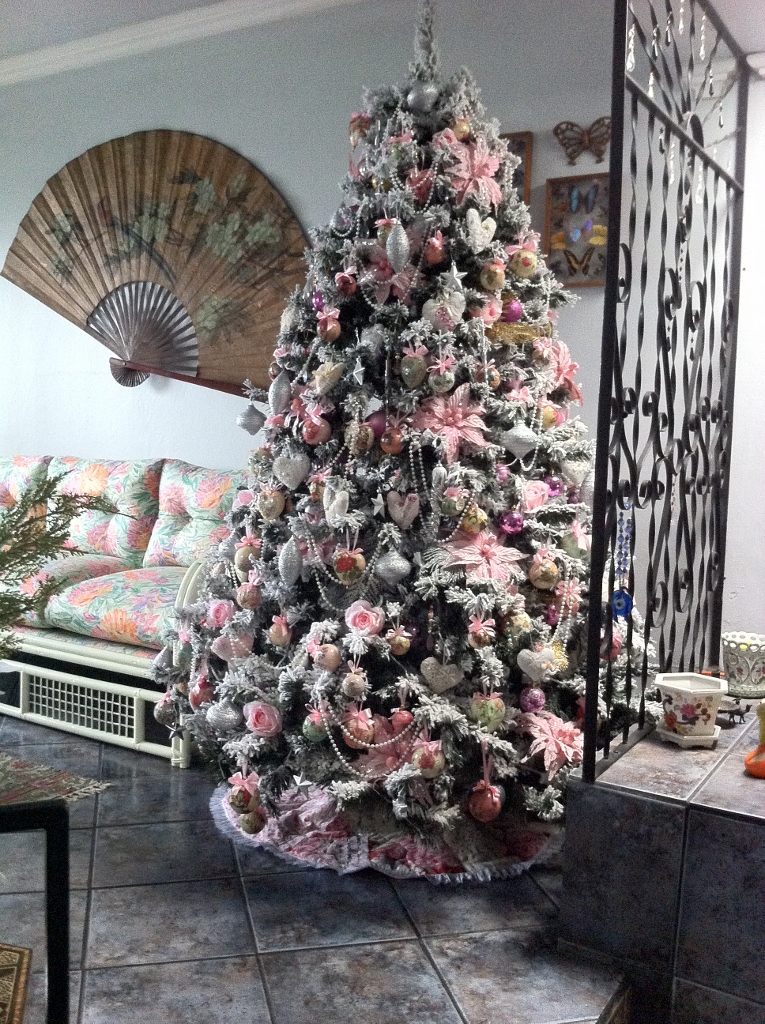
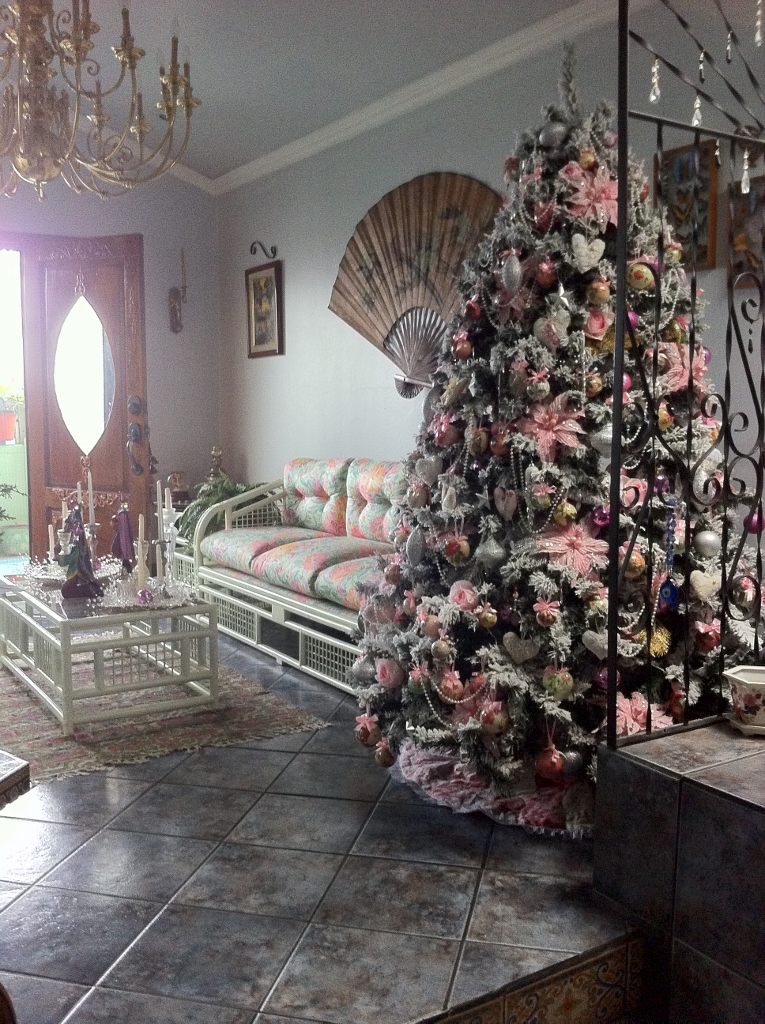
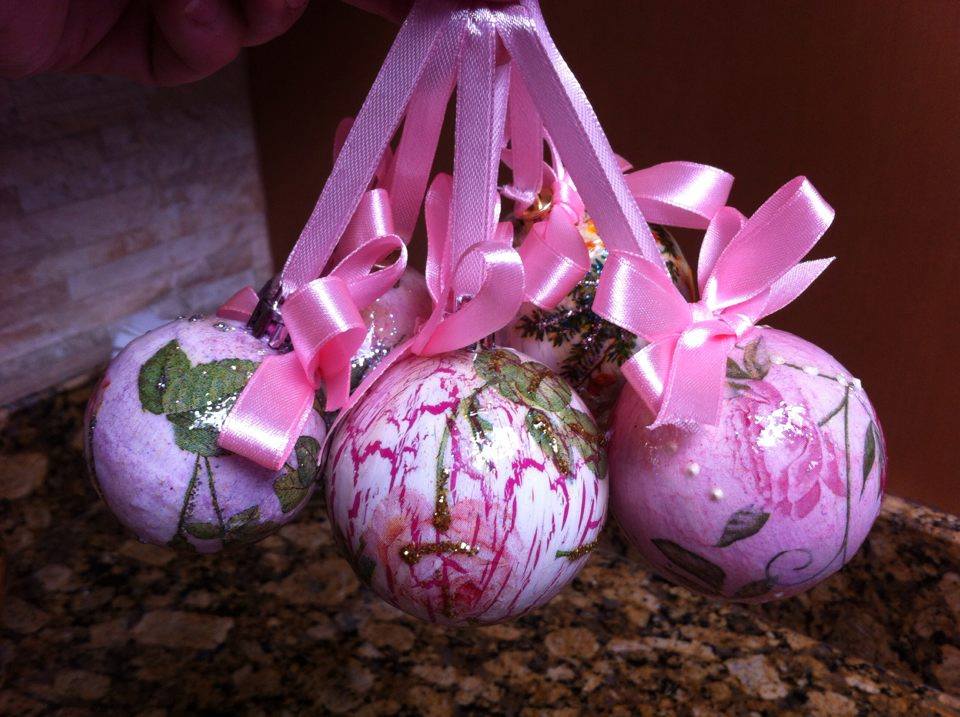
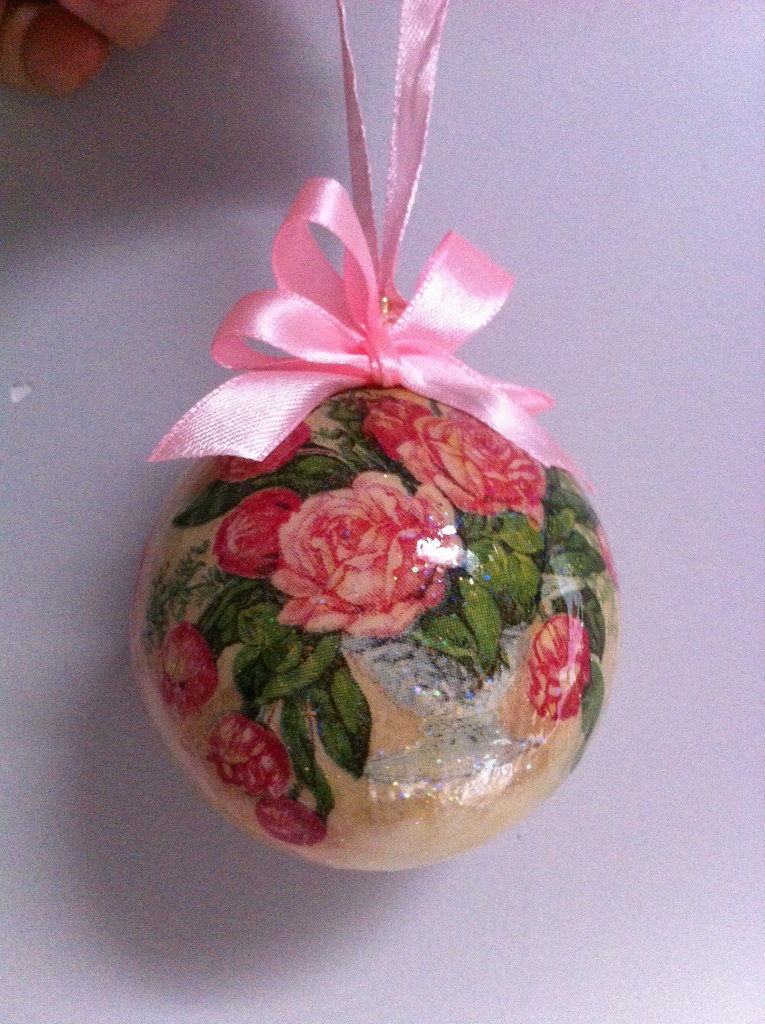
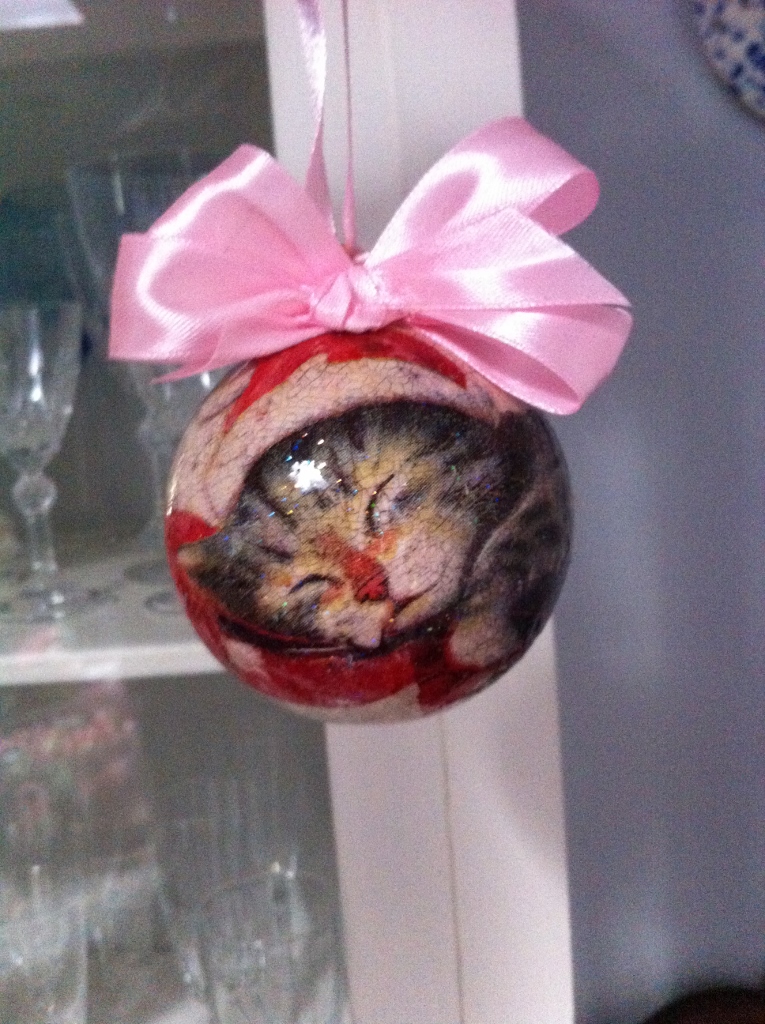
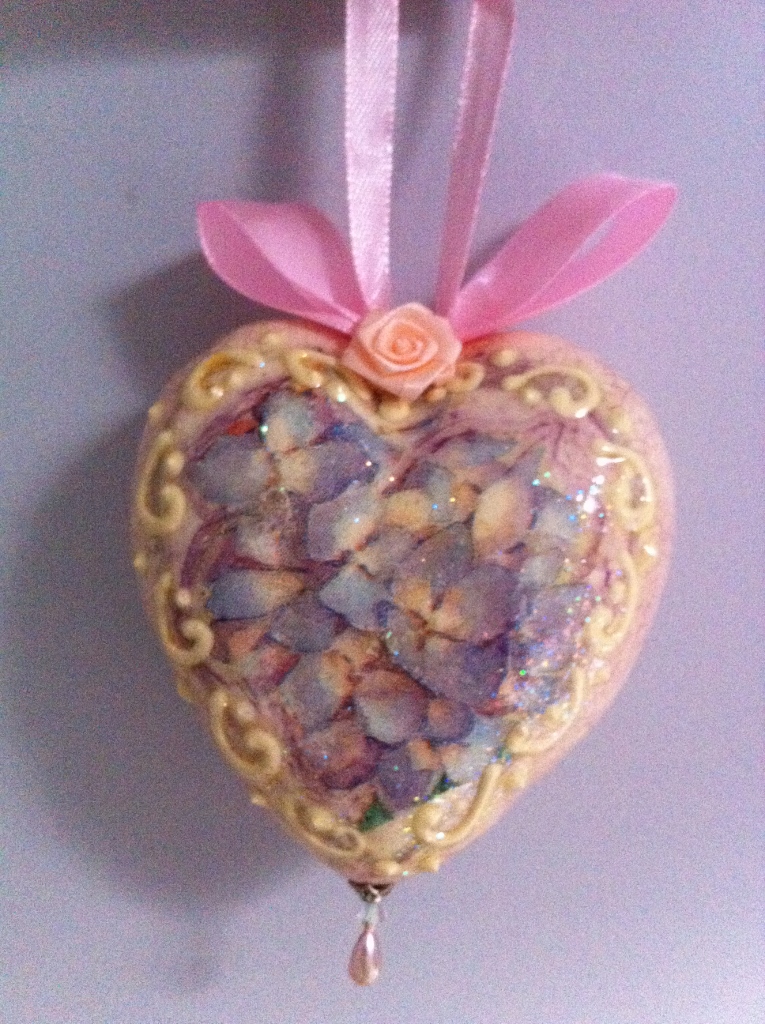
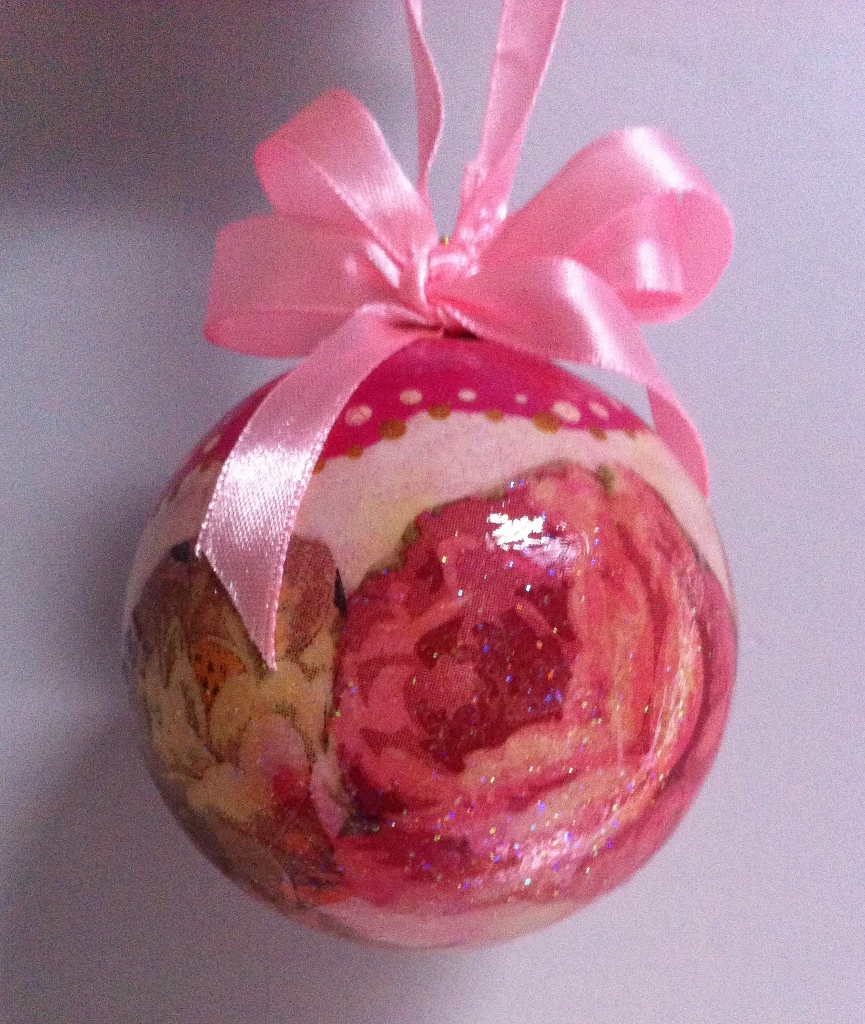
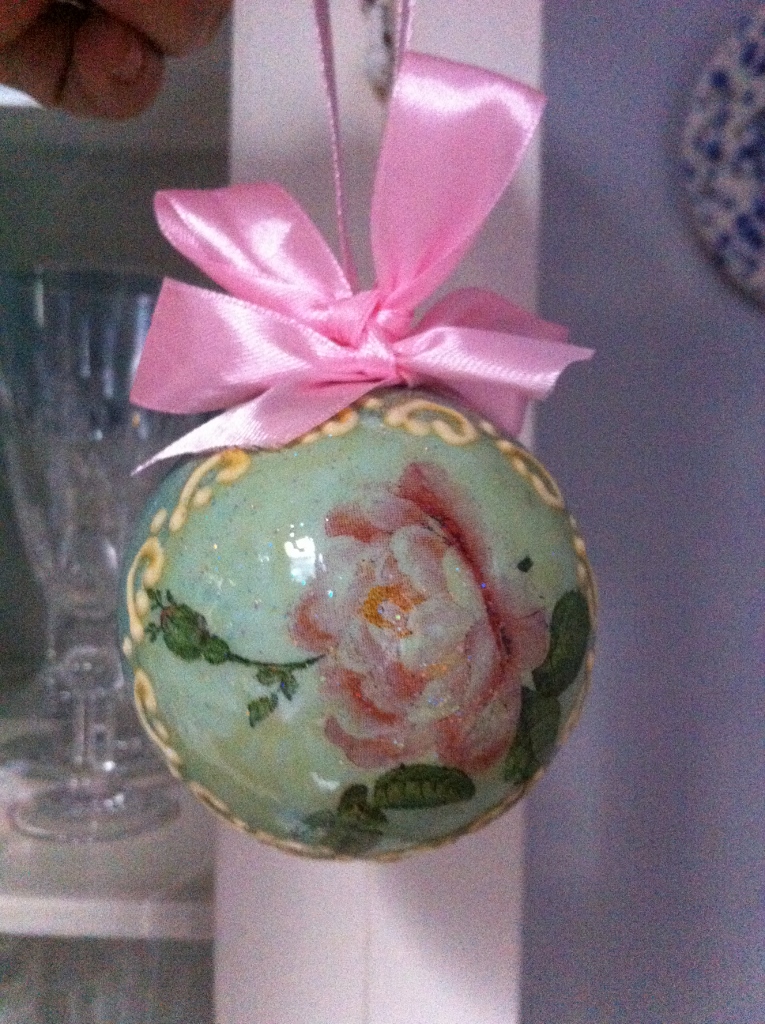
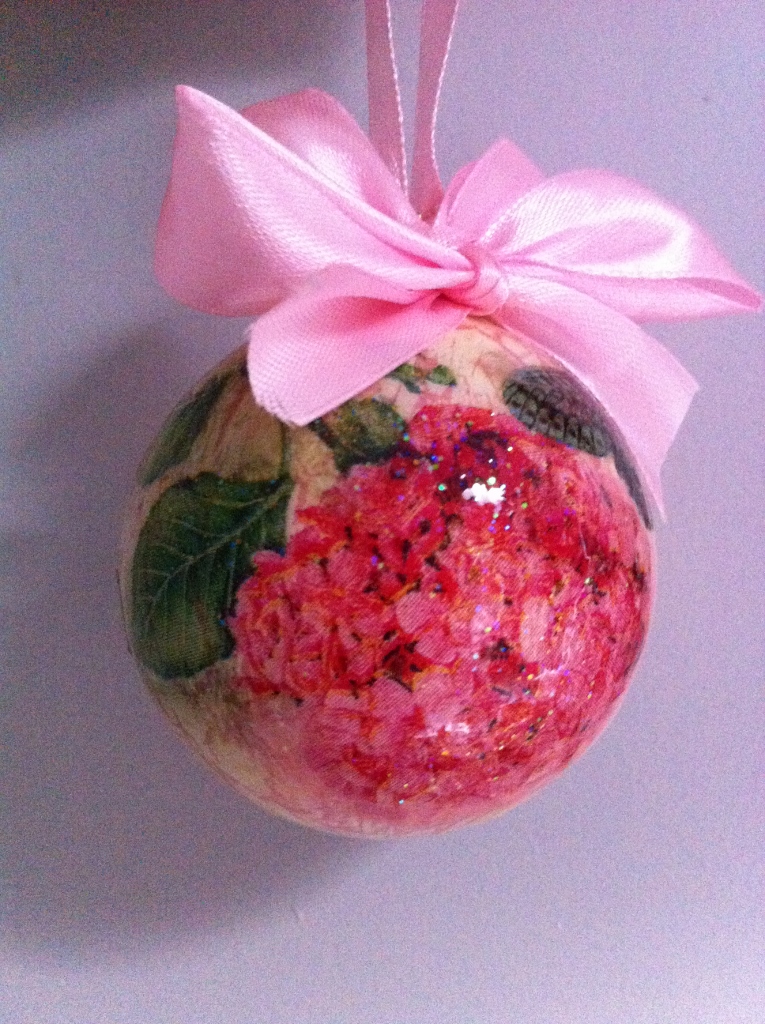
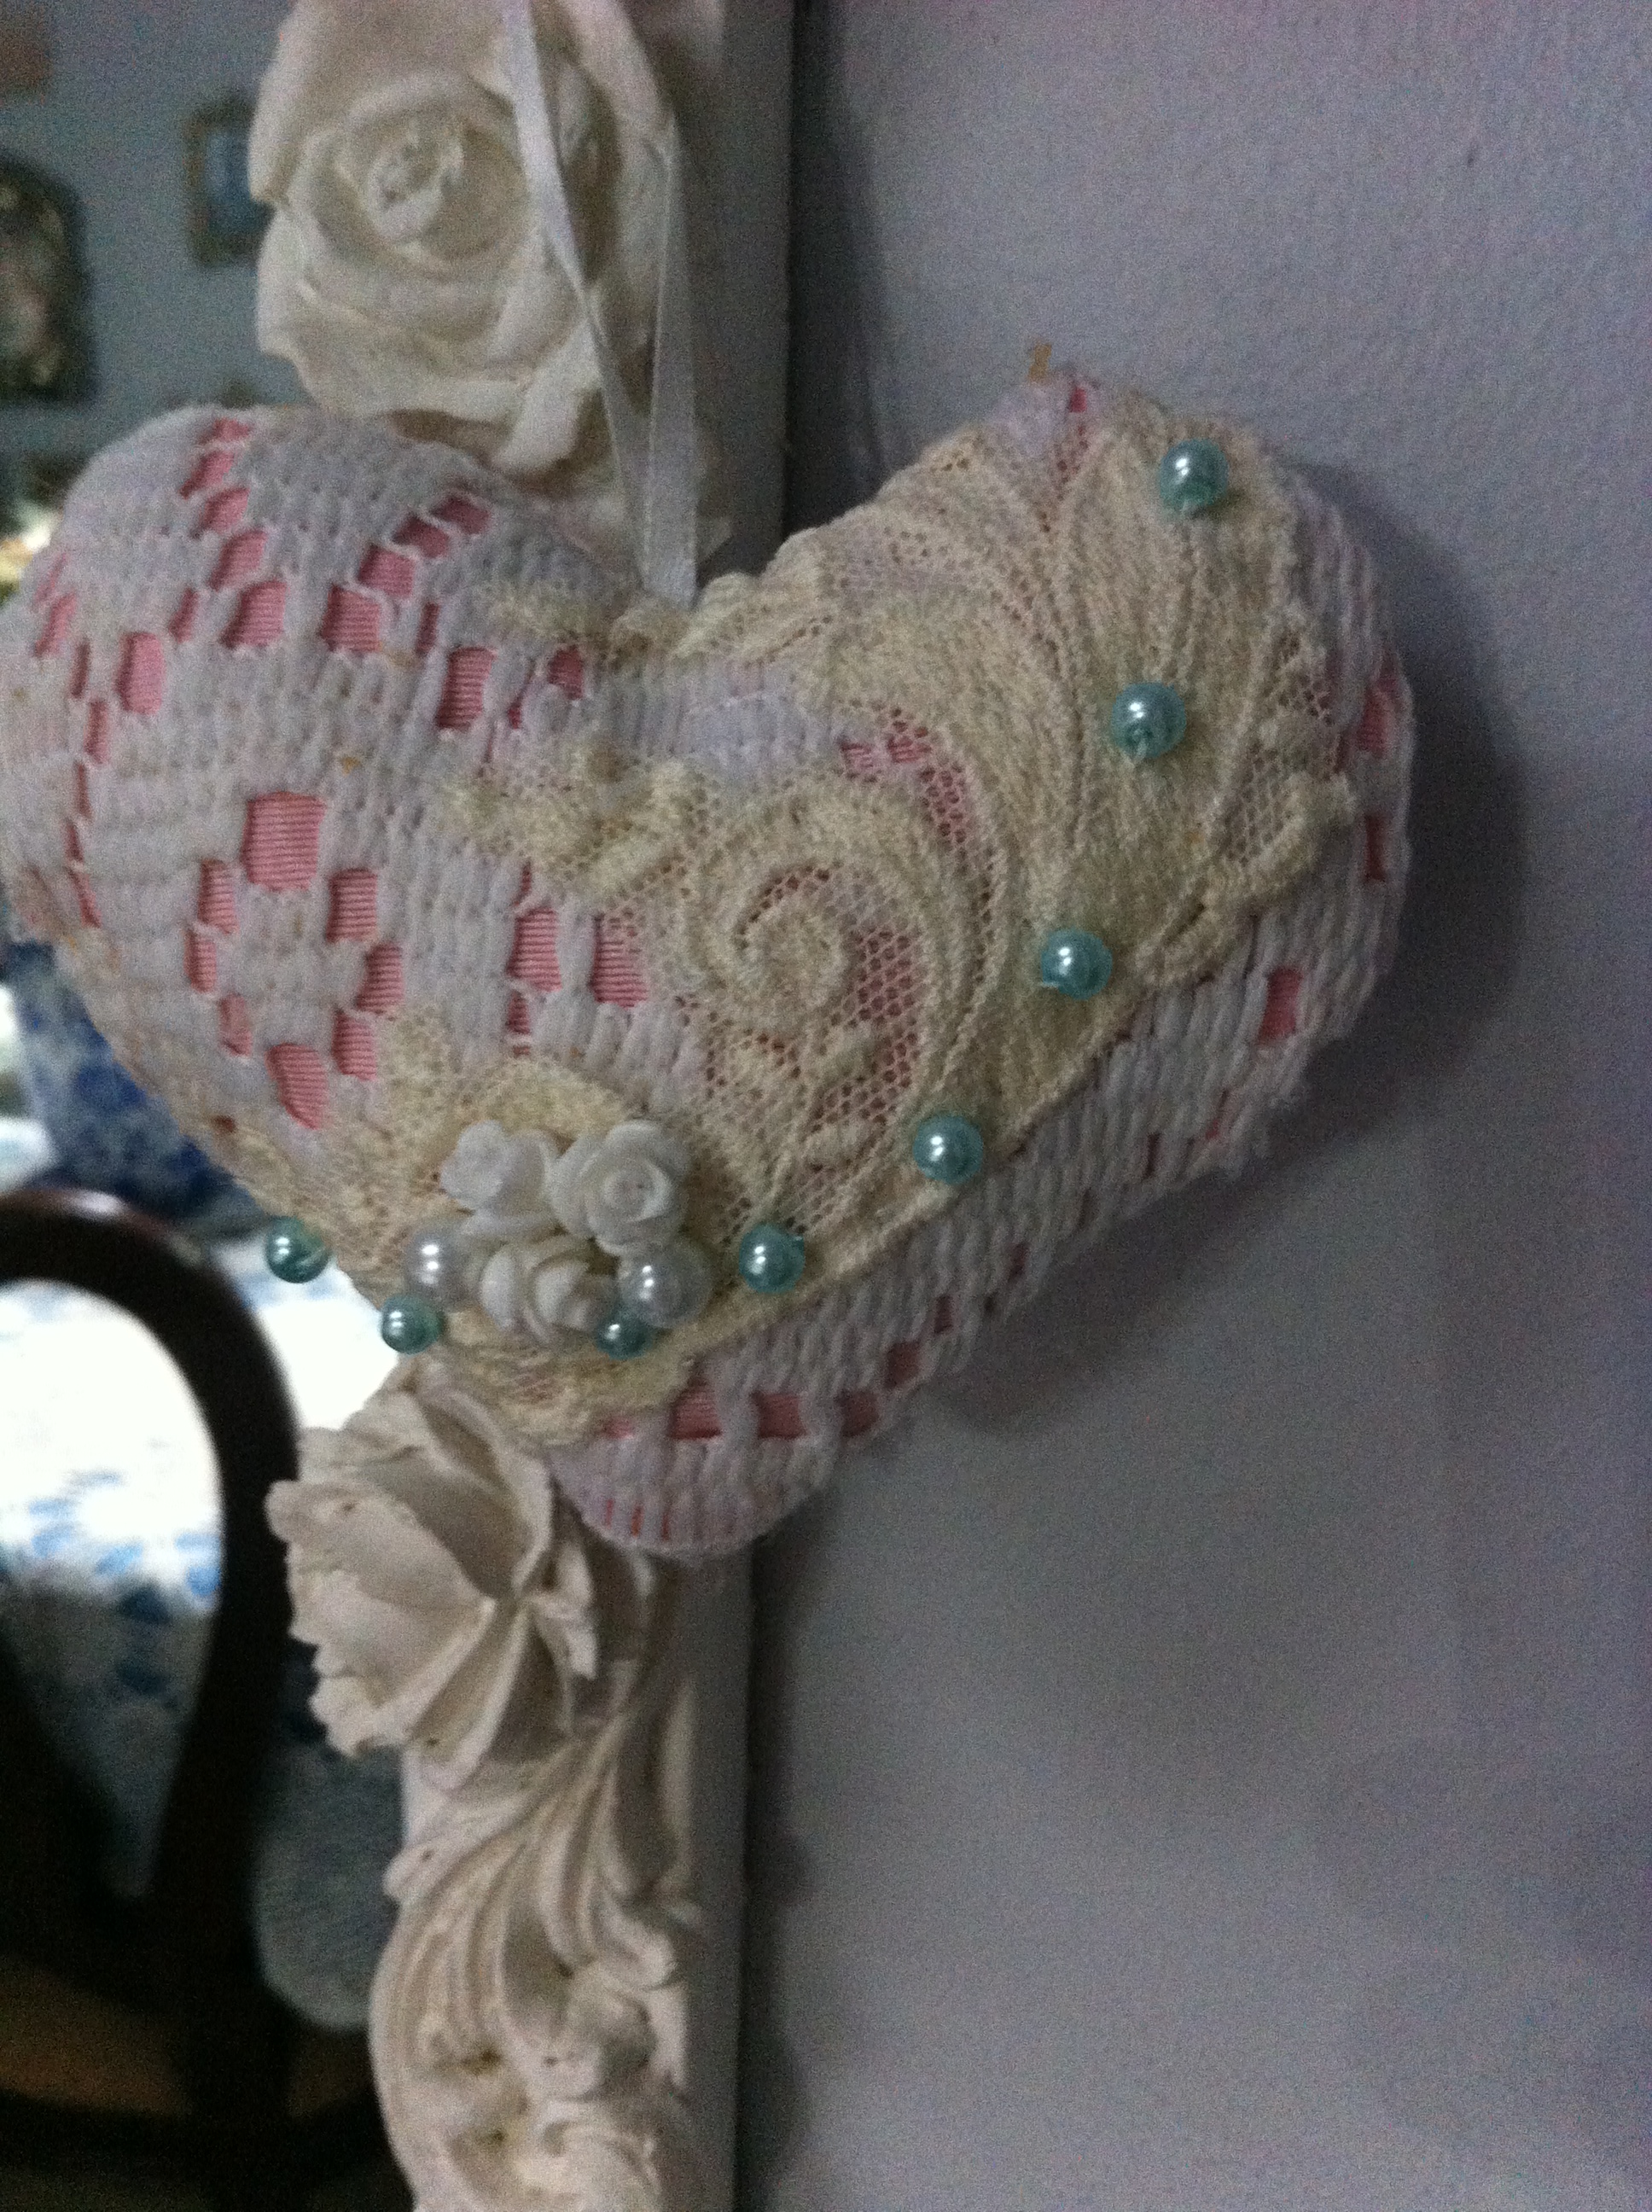
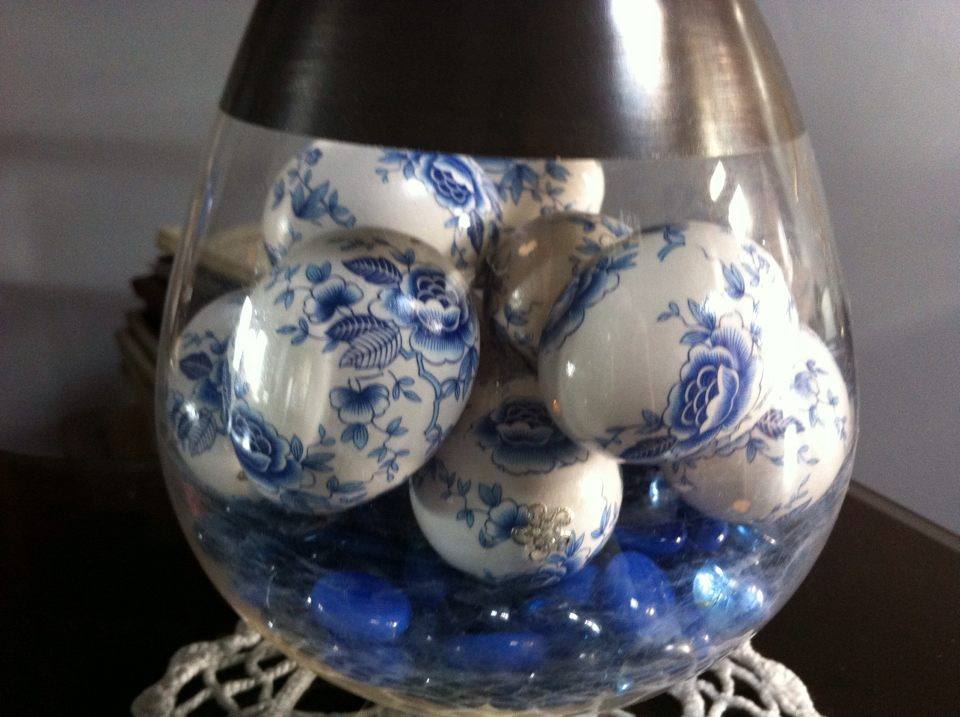
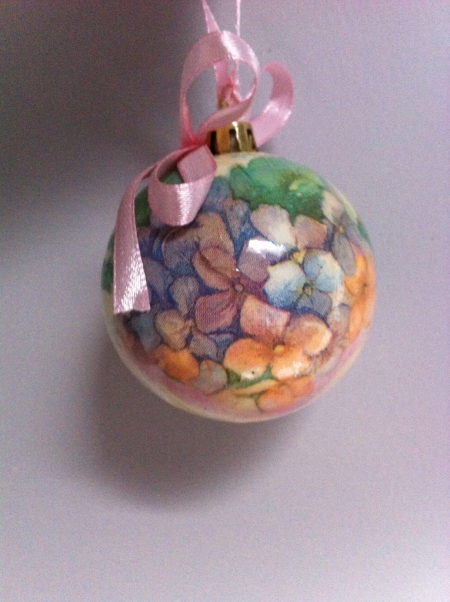
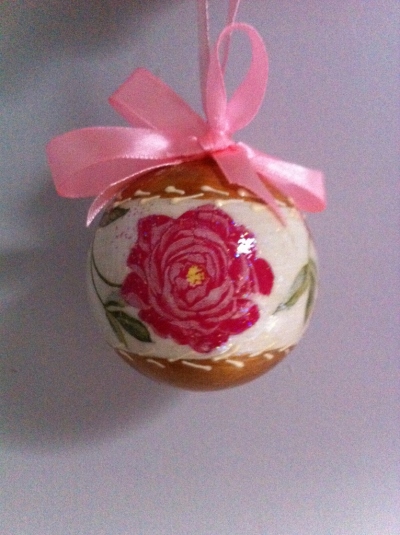
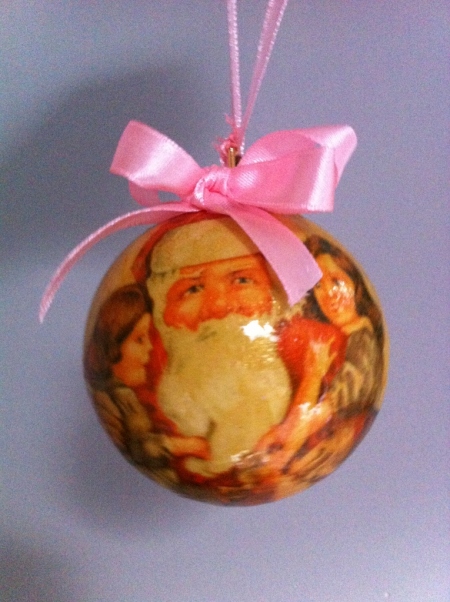
When they are completely dry you just re-attach the little metal or plastic hanging part and they are set to go. I wanted mine to look a bit more romantic so I removed the little gold hanger thread that they come with and replaced it with a thin pink ribbon. On the front of the baubles I hot glued on a pink satin bow.

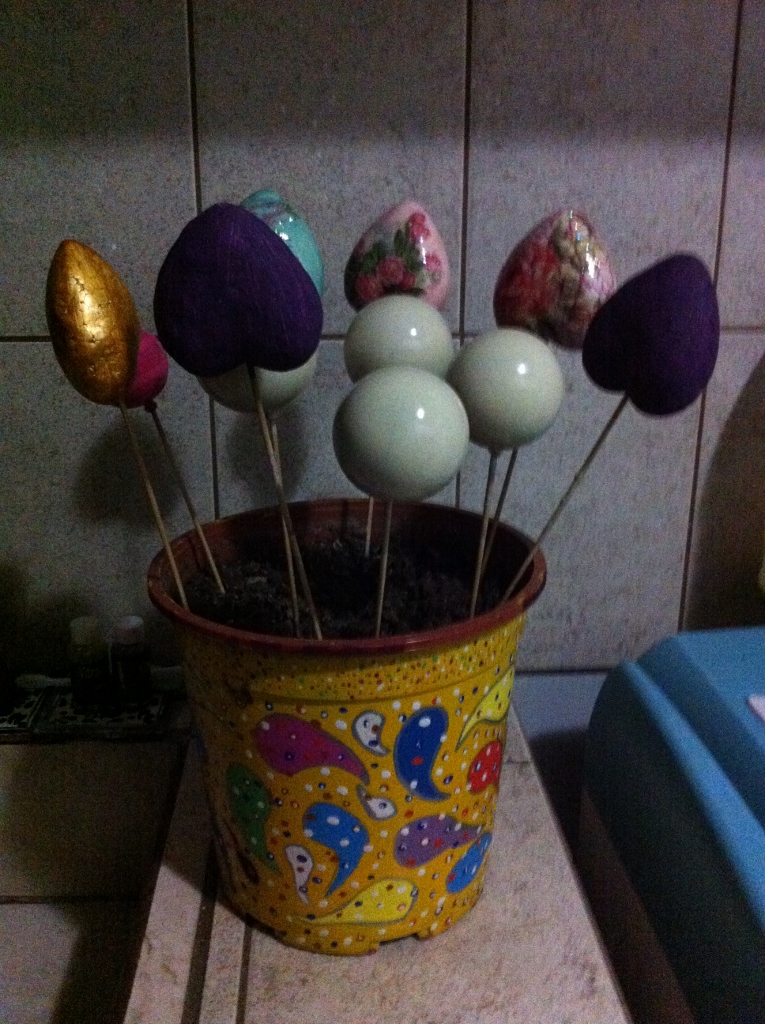
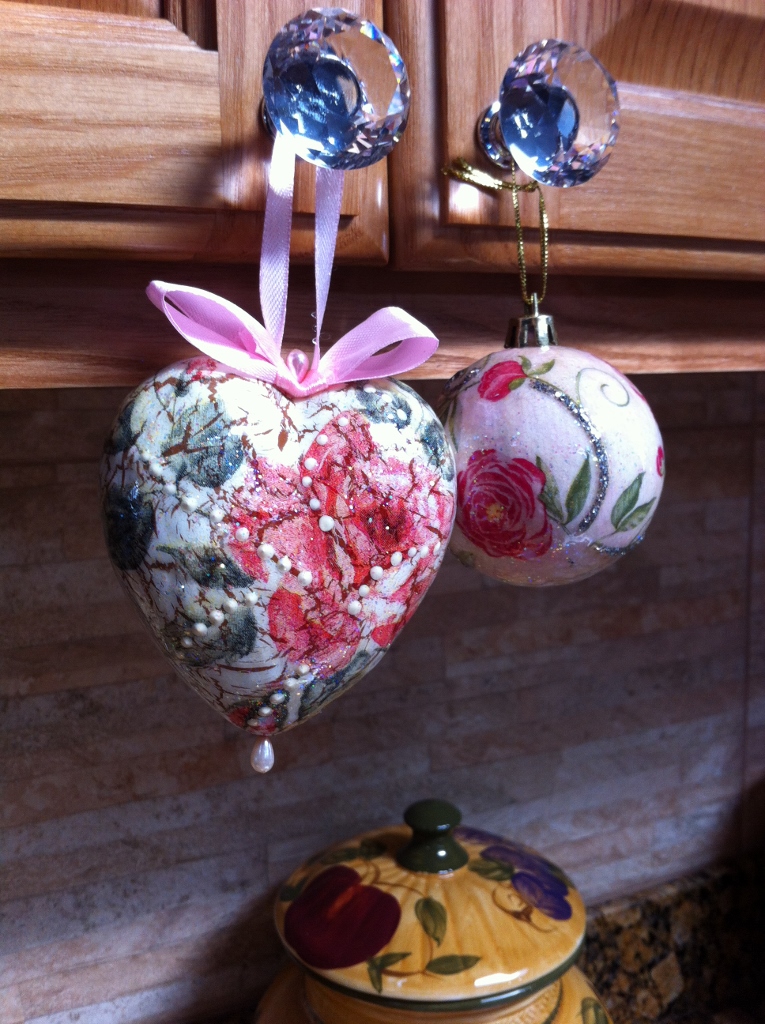
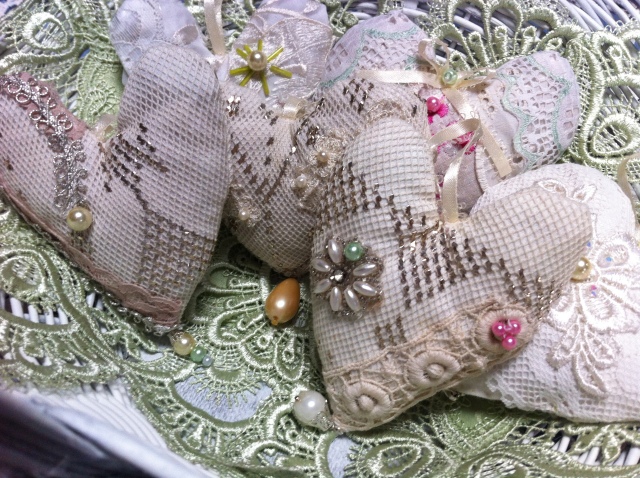
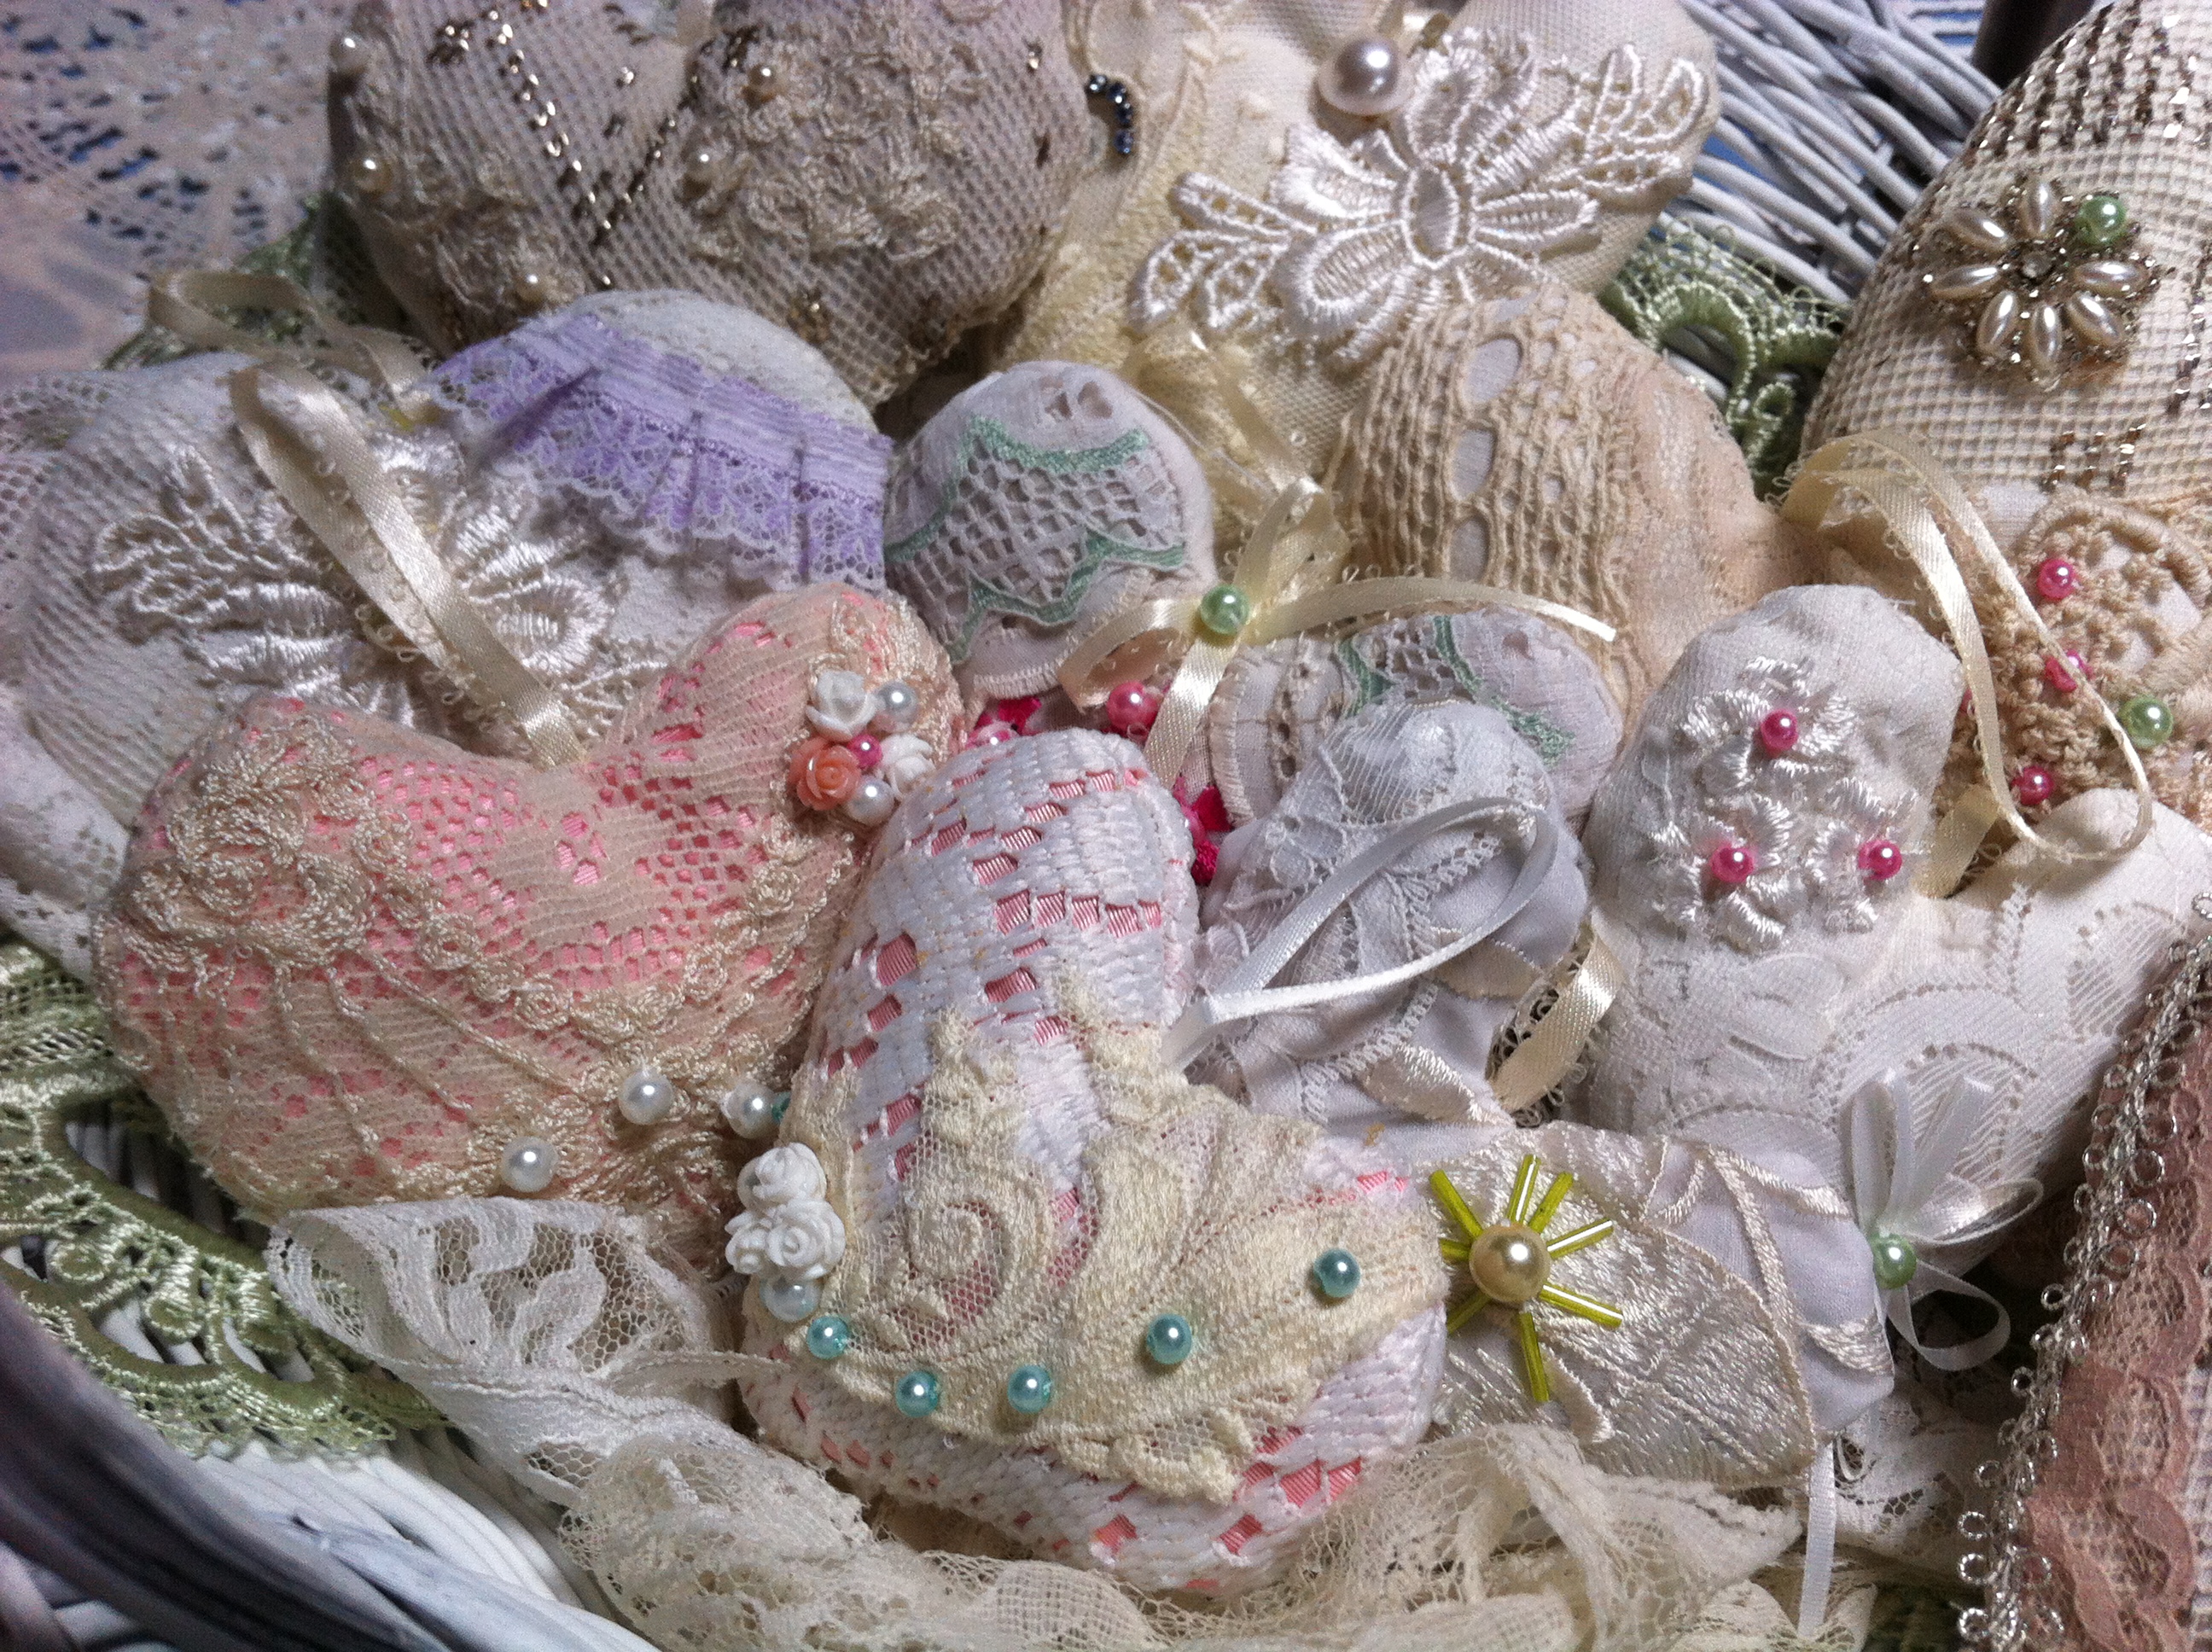
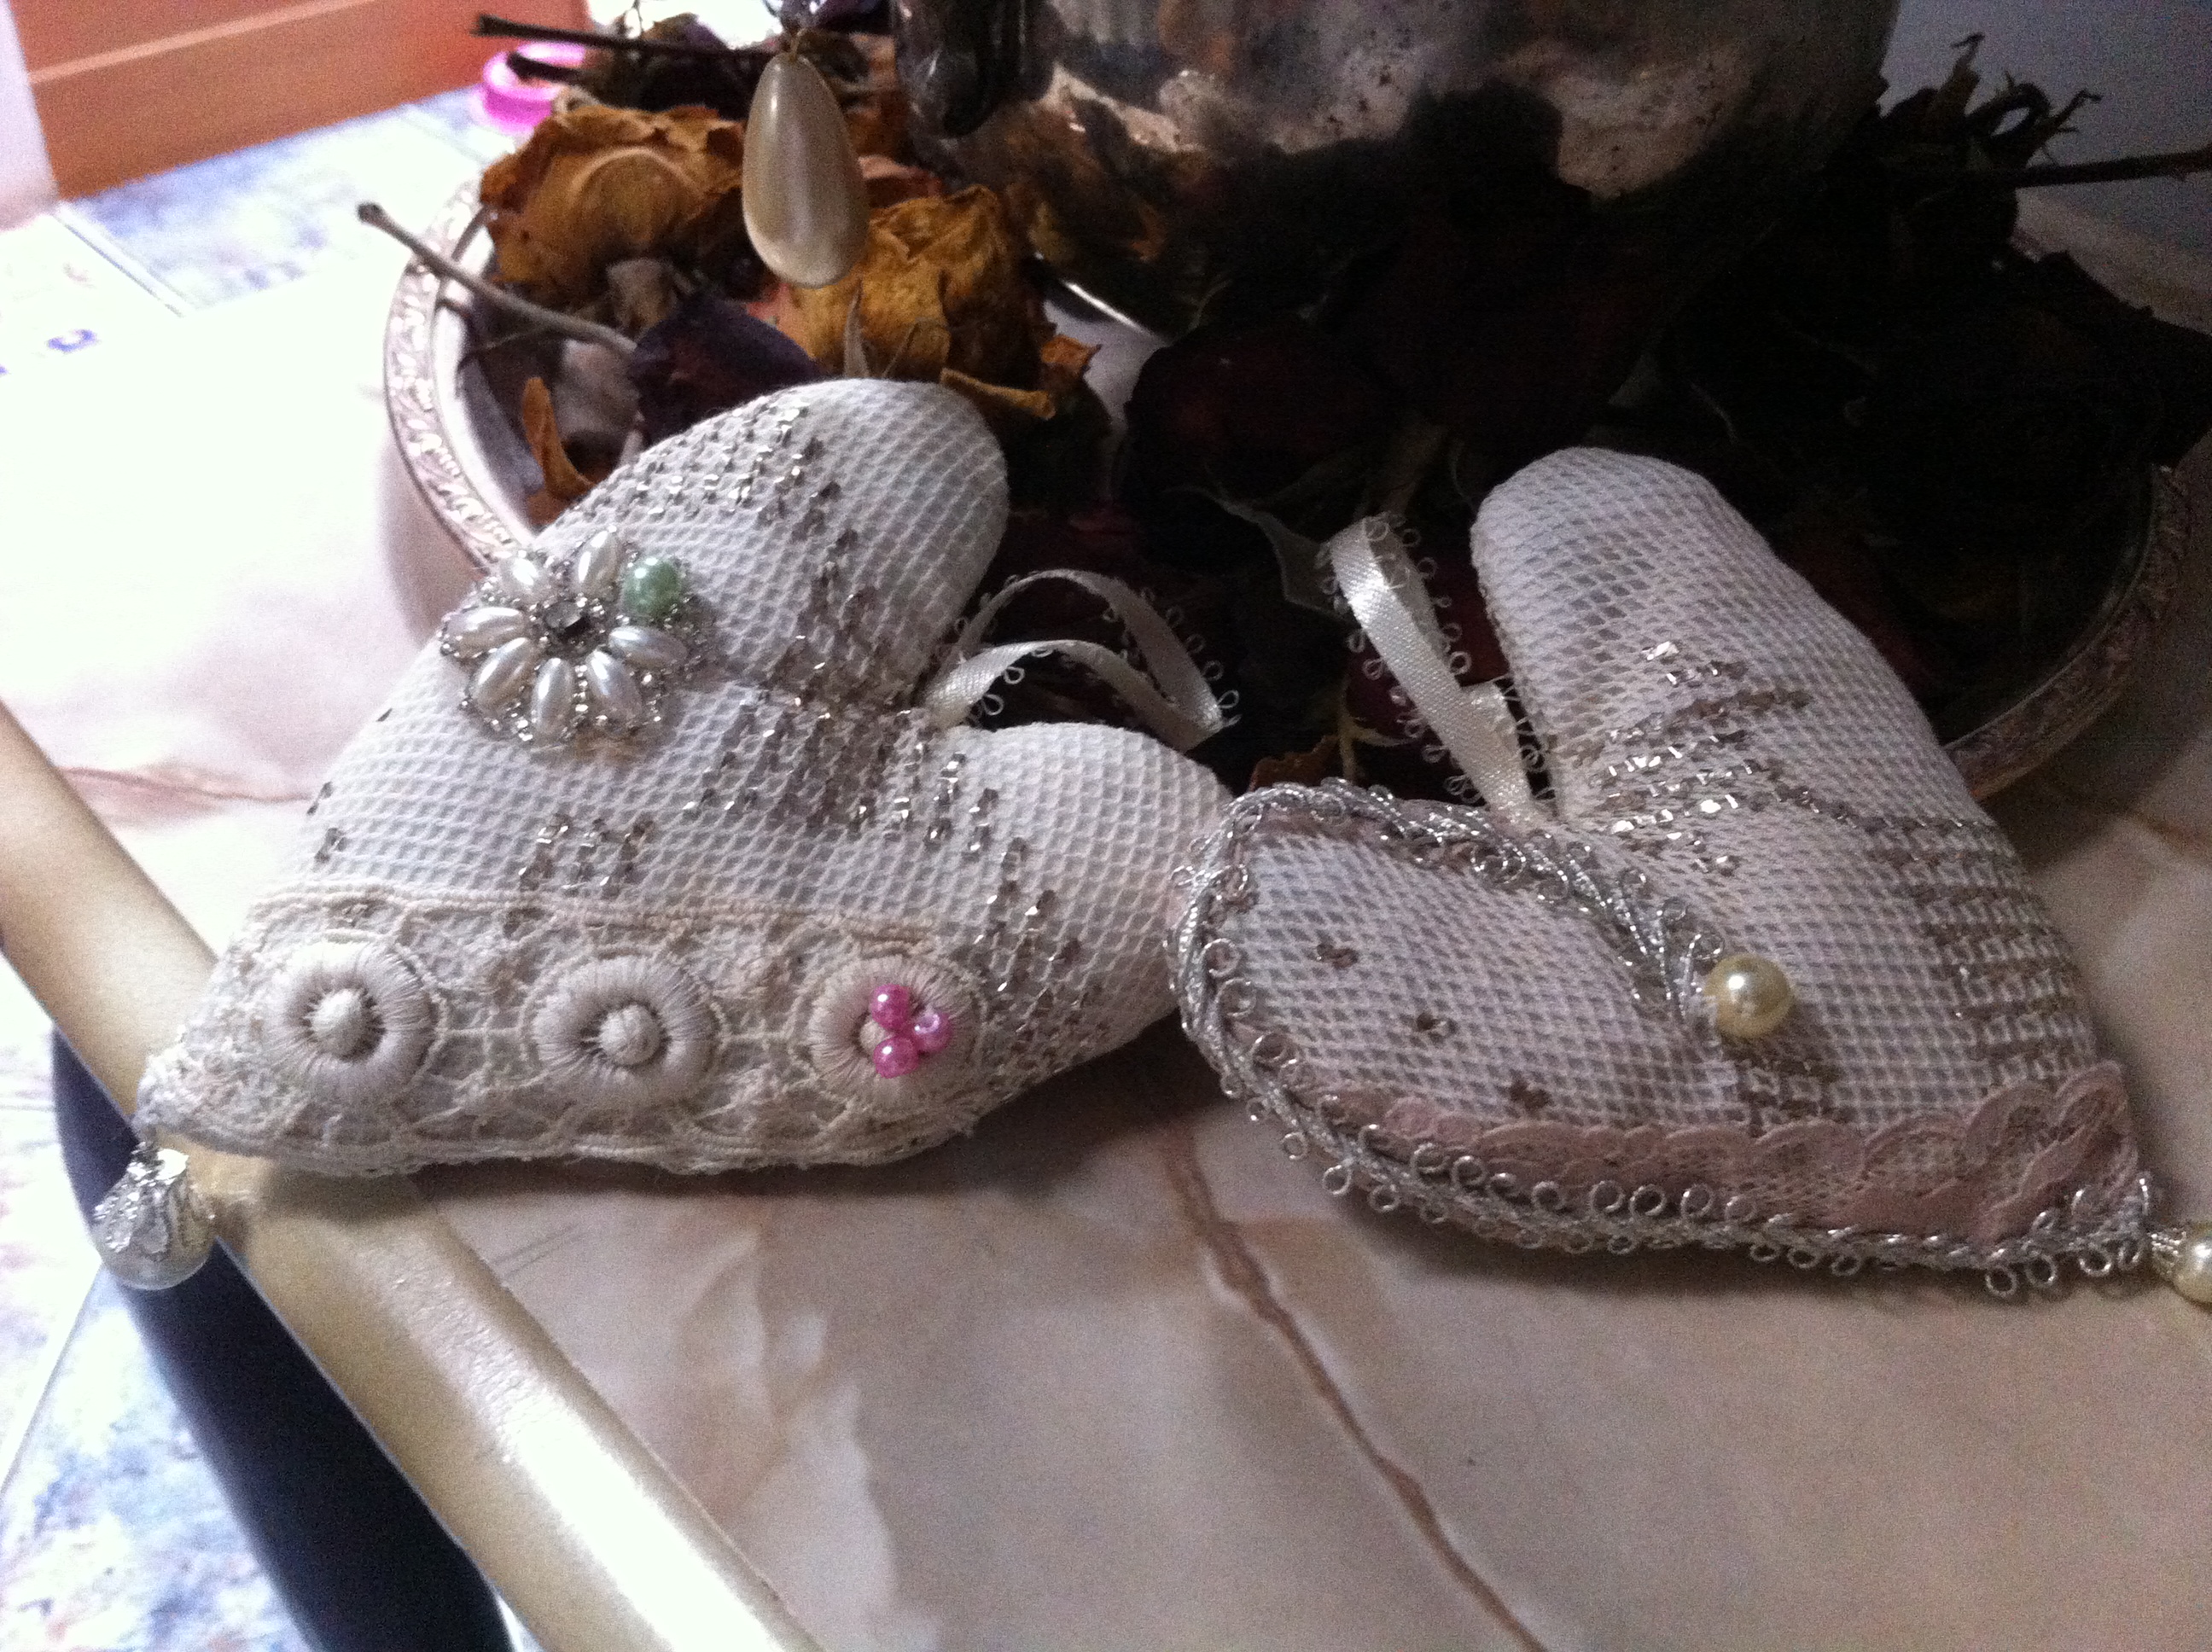
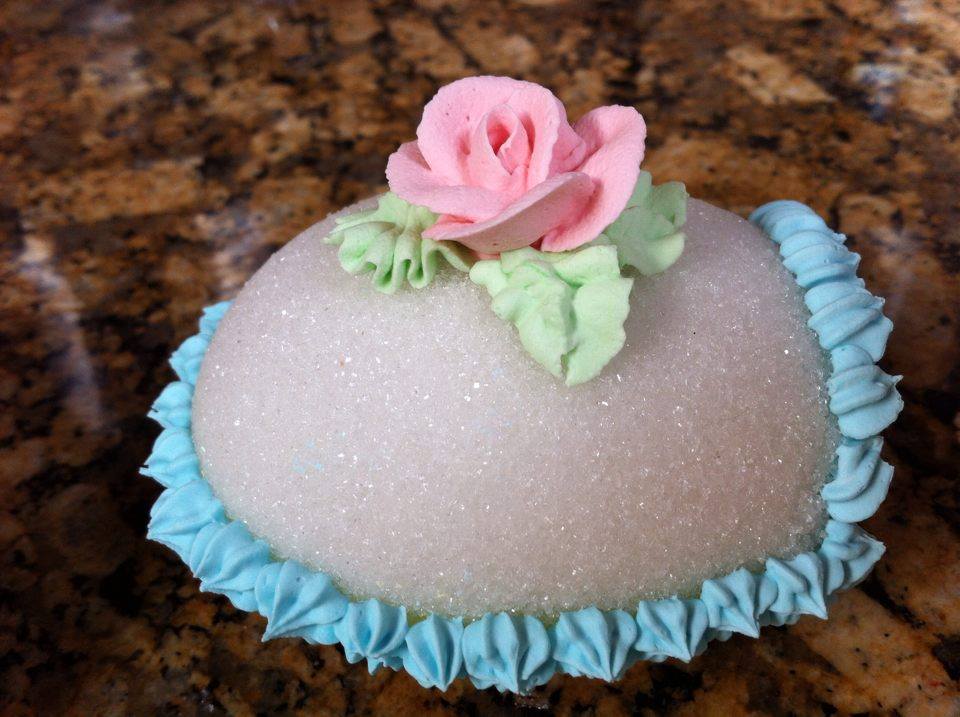
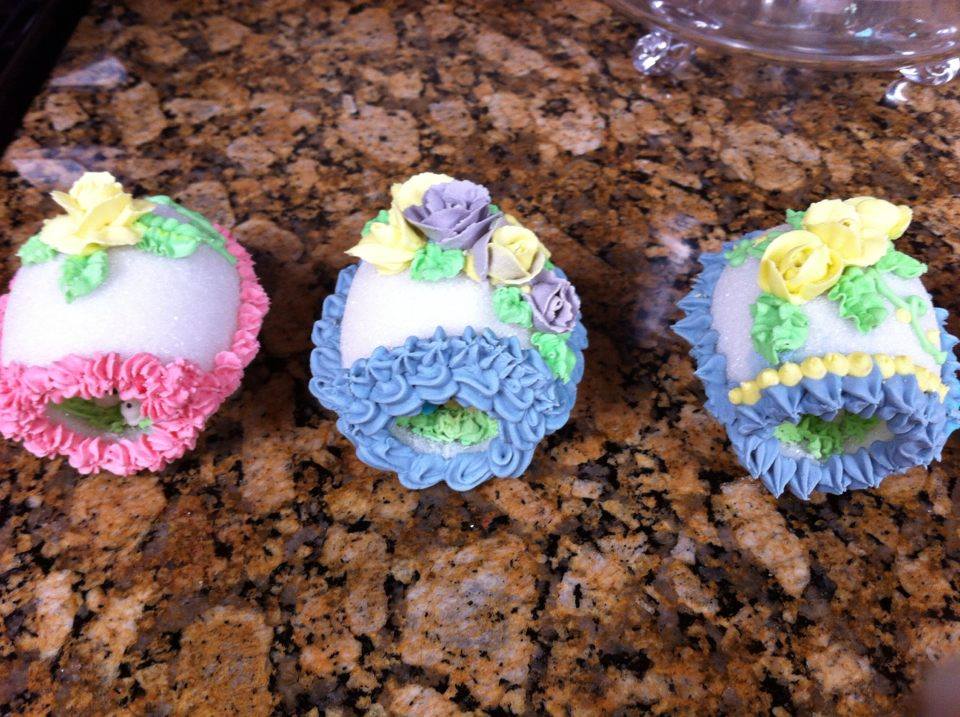
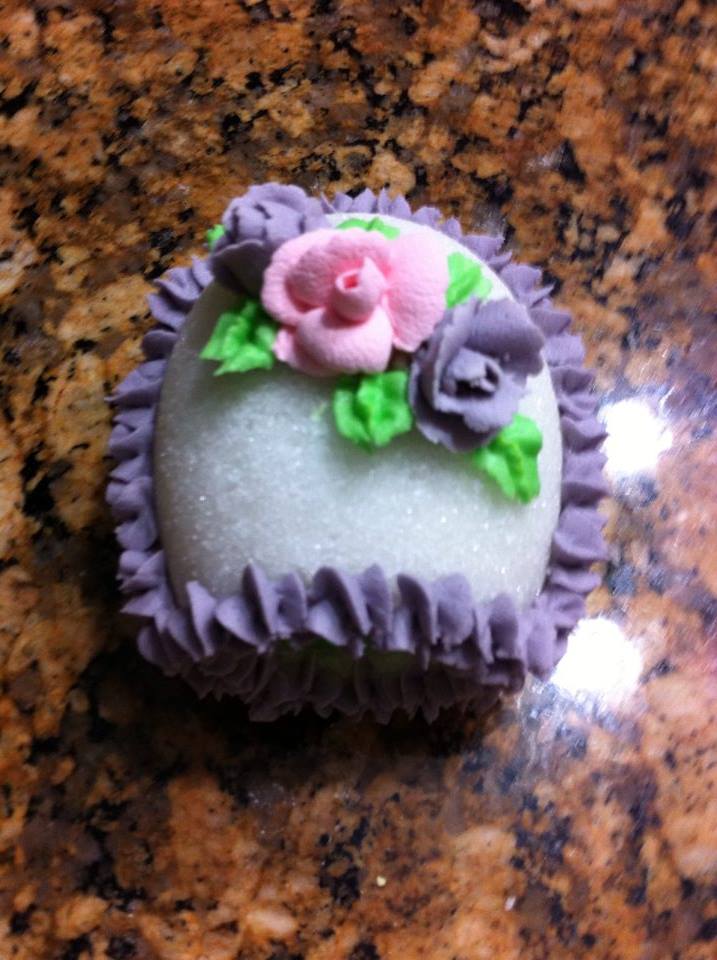
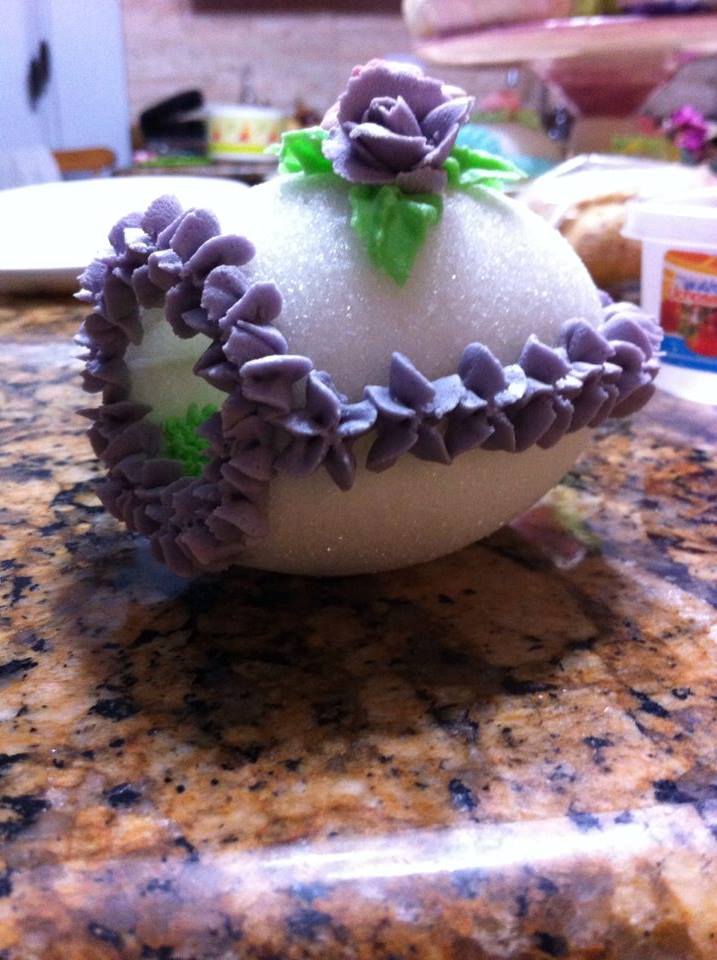
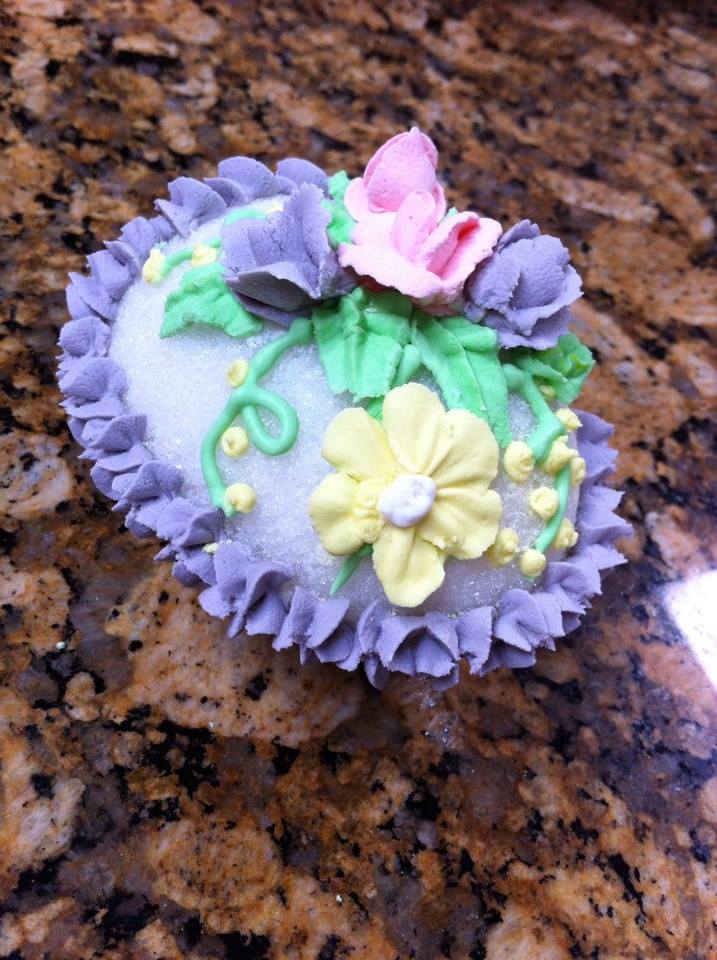
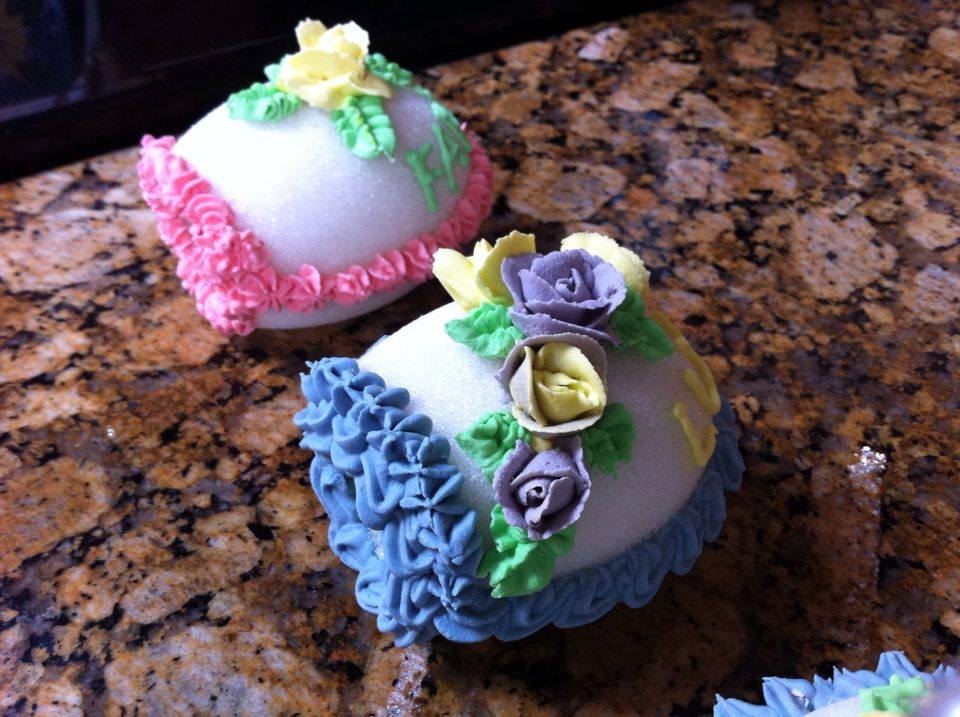
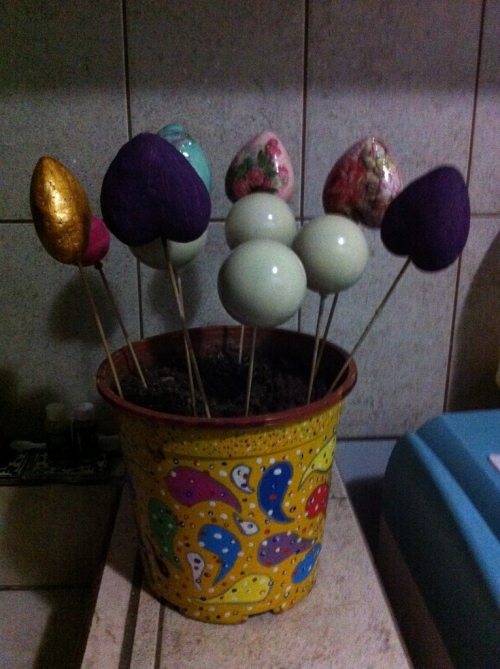
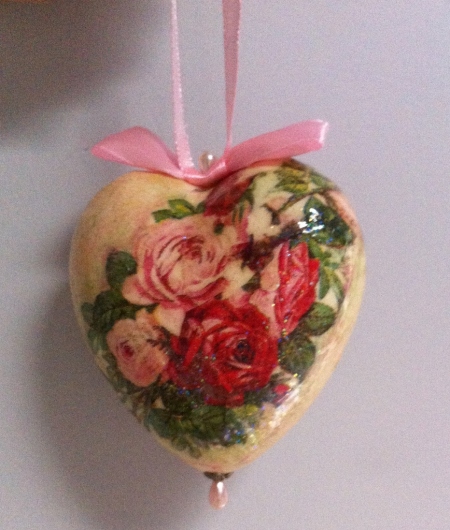
I also bought a package of 3 inch styrofoam hearts to decoupage in the same way.

Here they are drying on sticks during various stages of the process.

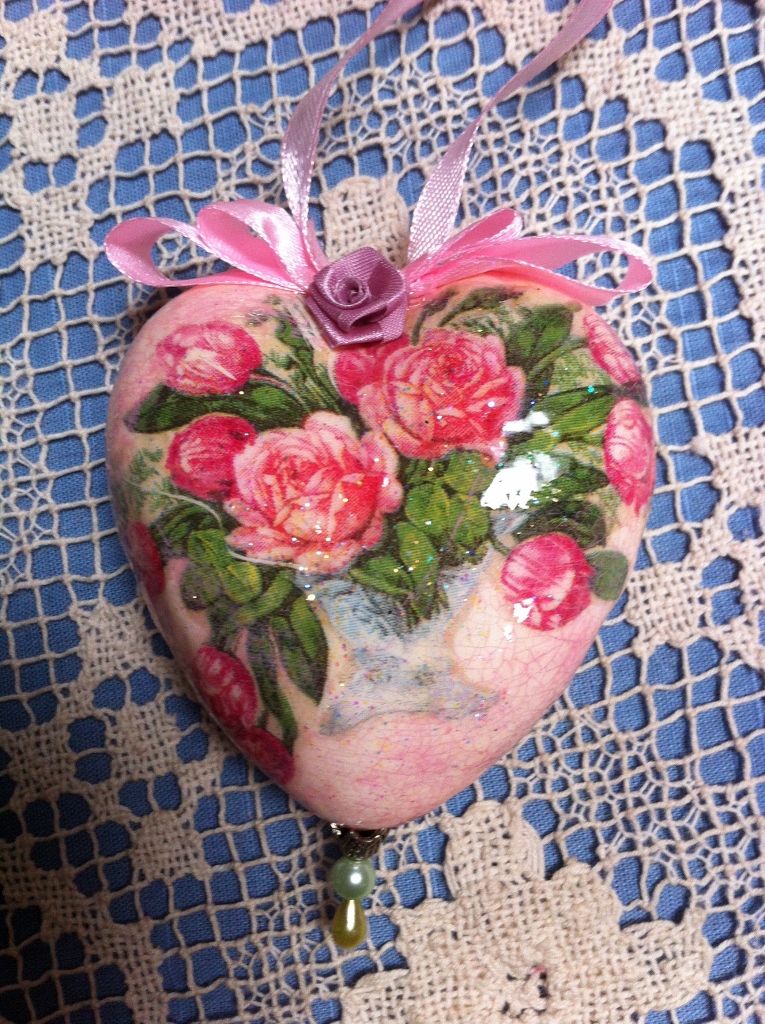
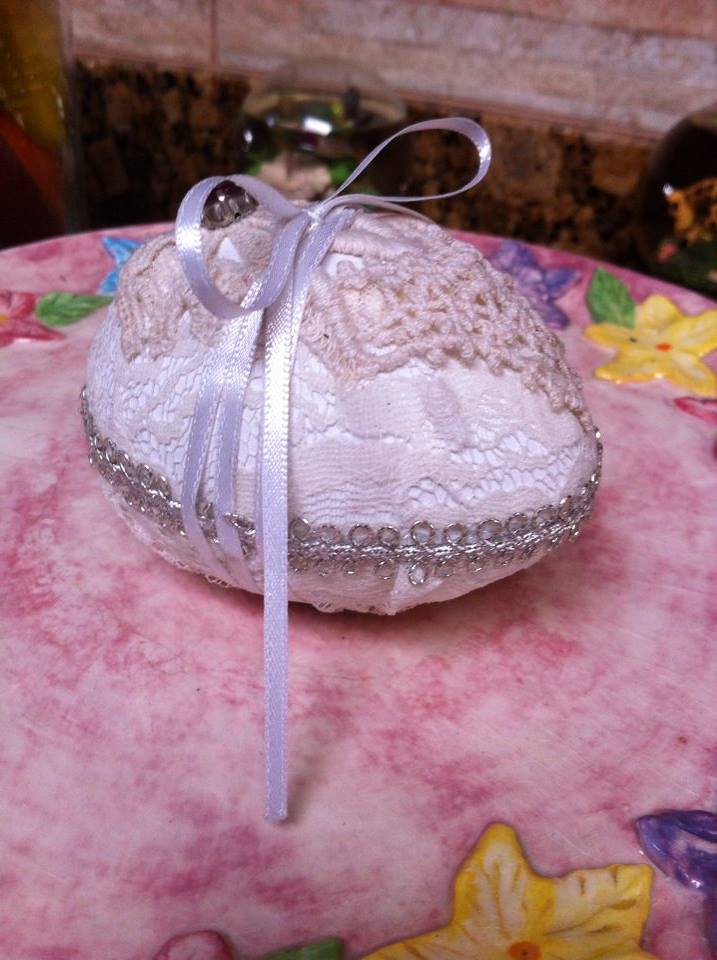
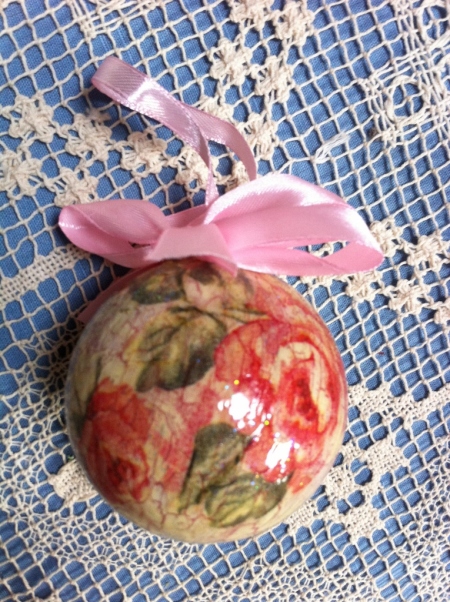
This is the crackle finish from Mod Podge’s Crackle product. It’s a very fine eggshell look.


This week I will be Joining.
Tuesdays at our Home @ Our Home Away From Home
LouLou Girls Linky Party @ Lou Lou Girls
Creative Muster Party @ Fluster Buster
Wow Us Wednesdays @ Savvy Southern Style
Tuesdays With A Twist @ God’s Growing Garden
Party in Your PJ’s @ The Cookie Puzzle
The Homemaking Party @ Classical Homemaking
Share Your Style Thursday Link-Up Party
Home and Garden Thursday @ A Delightsome Life
Sweet and Simple Fridays @ Rooted in Thyme
Feathered Nest Friday @ French Country Cottage
Friday Feature’s Link Party @ Oh My Heartsie Girl
Anything Goes Pink Saturday @ How Sweet The Sound
Best Of The Weekend Party
Saturday Sparks Link Party @ Pieced Pastimes


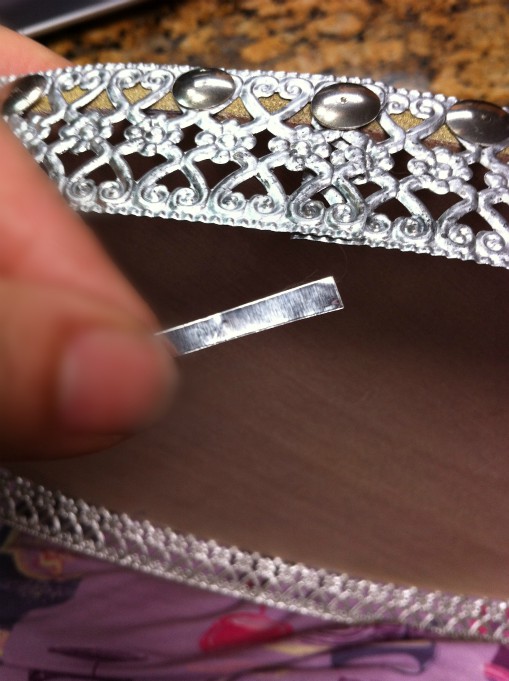
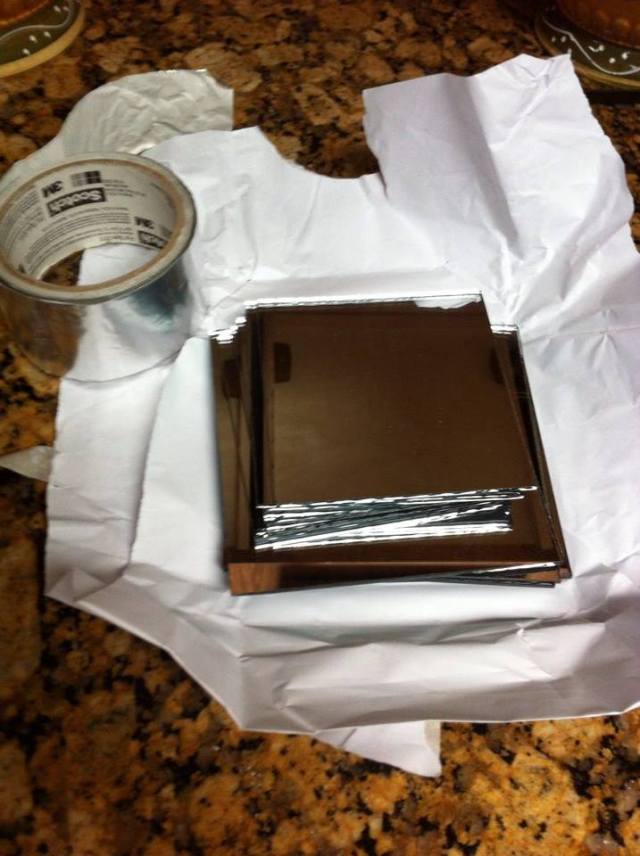 I laid five of the six squares out on the counter top face down, in the position that they’d be hot glued together.
  To keep them from moving around I held them together with tape before glueing them. I happened to have aluminum tape on hand so I used that.
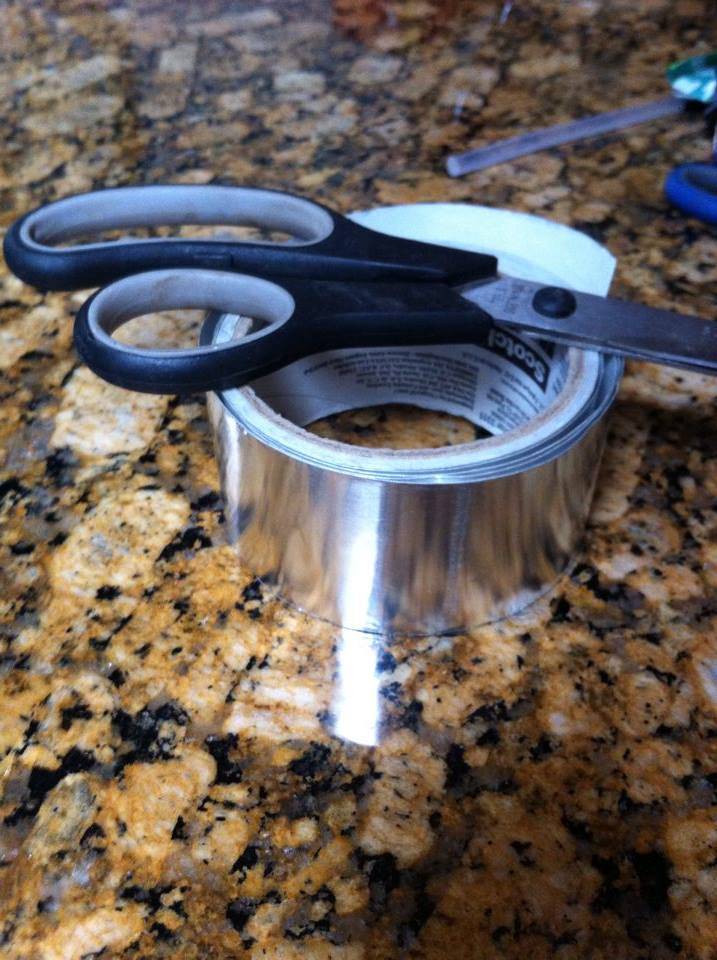
 Then I flipped the squares upright and hot glued them together on the inside from top to bottom at each corner where they joined. Once the four sides and the bottom of the cube were glued together and the glue had cooled and dried, I glued the top square on.
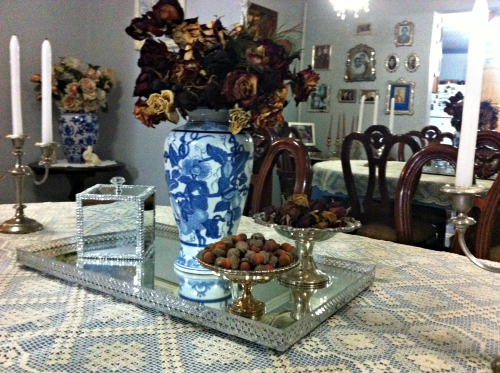
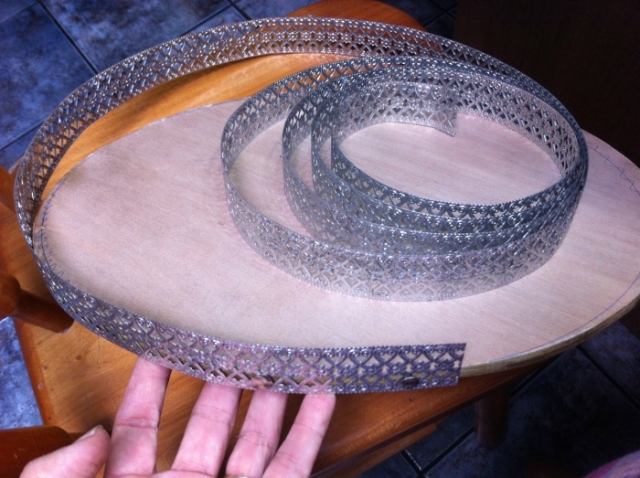
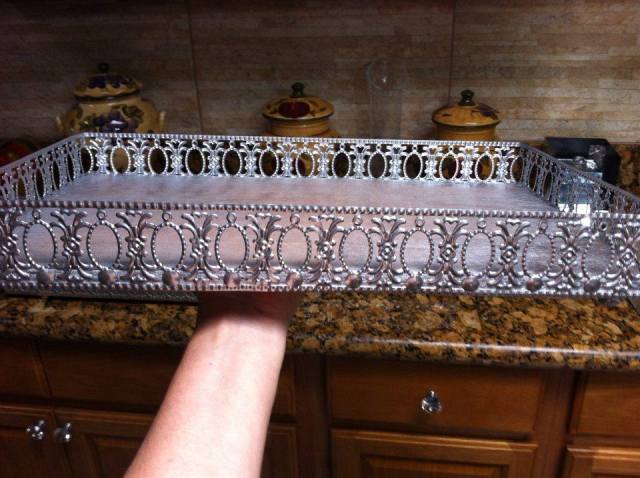
 Then it was just a matter of blinging it up. I had a roll of diamond ribbon among my craft stuff so I glued strips of it to all the edges. That really upped the sparkle factor.
 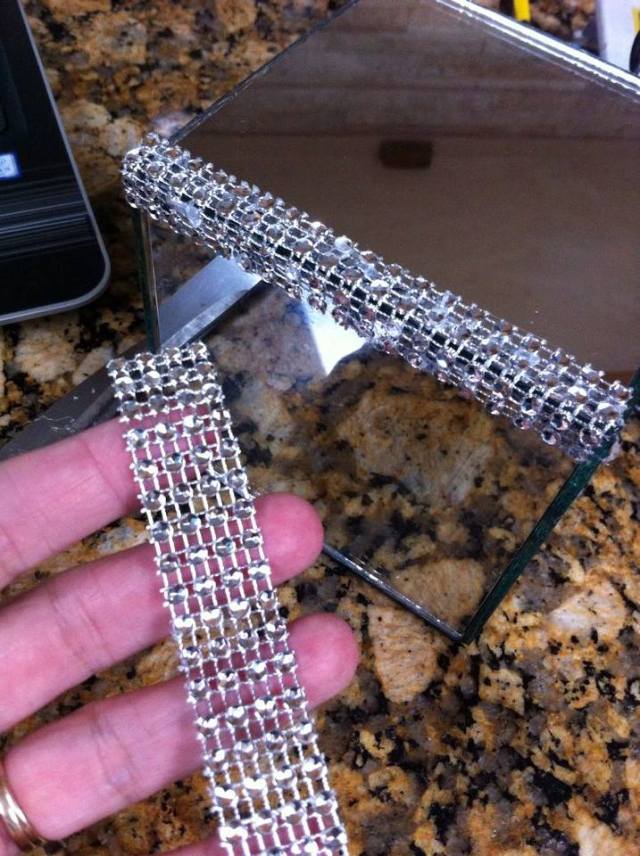 A left over crystal knob from my kitchen cabinets served nicely as a finial for the top.
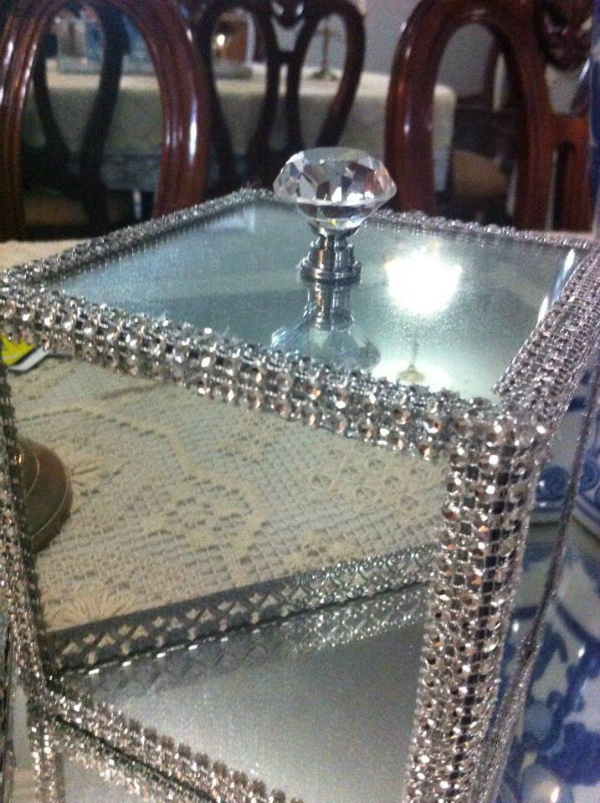 And that was it!


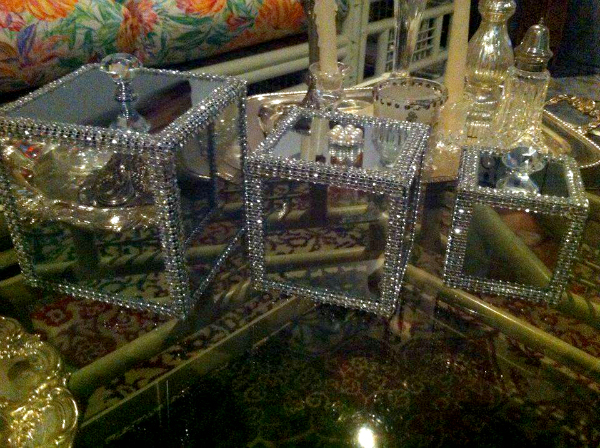
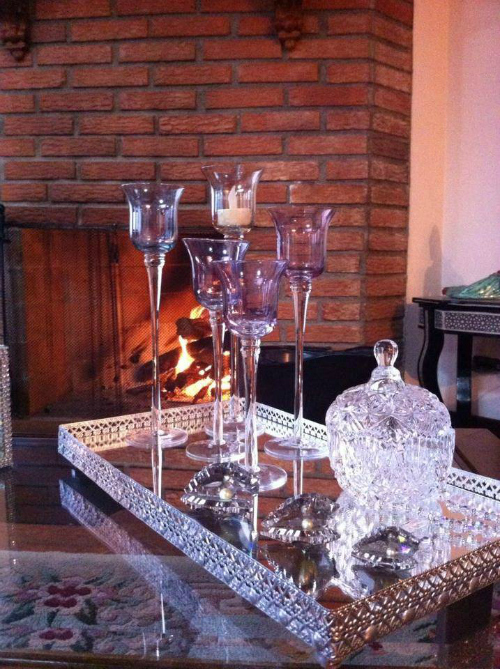
 These were so inexpensive and easy to make that I made three more for the coffee table up at our mountain house. I haven’t put finials on these three yet.


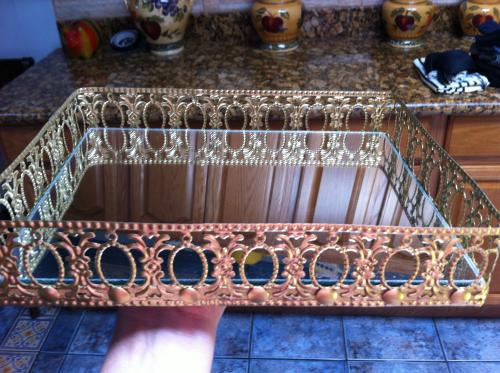
 First the the bottom and sides of the base gets a coat of spray. I sprayed some of the pieces silver and others gold because those were the colors that I wanted the trays to be.
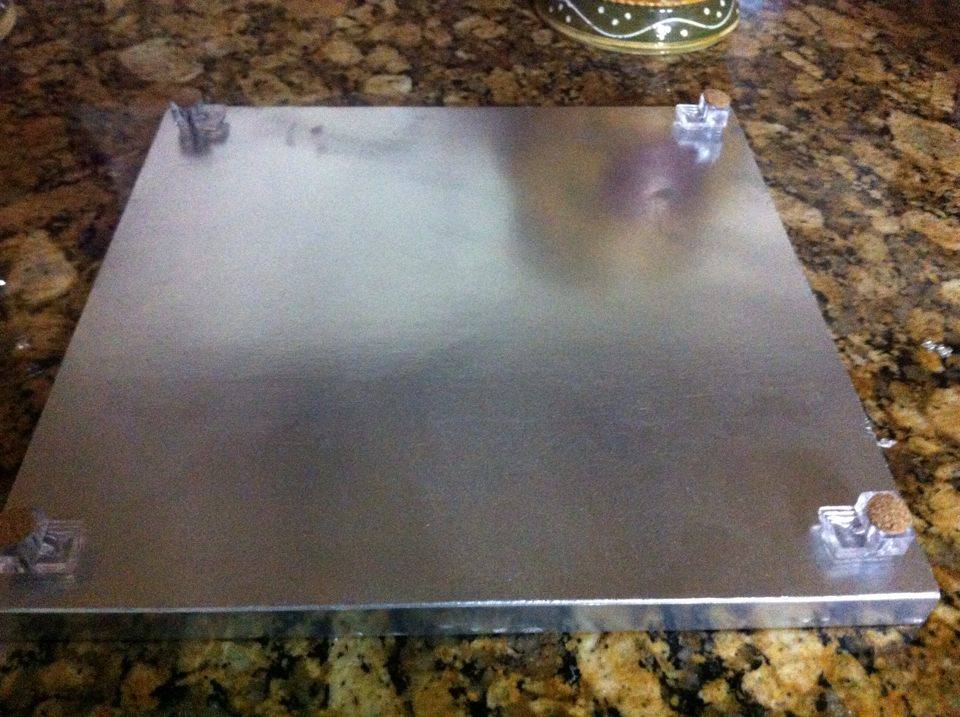


 After the paint is dry, the next step is to attach the mirror. I had mirrors cut to size and then I just glued them onto the plywood with hot glue.